5 Embroidery tips for kids
January 4, 2022
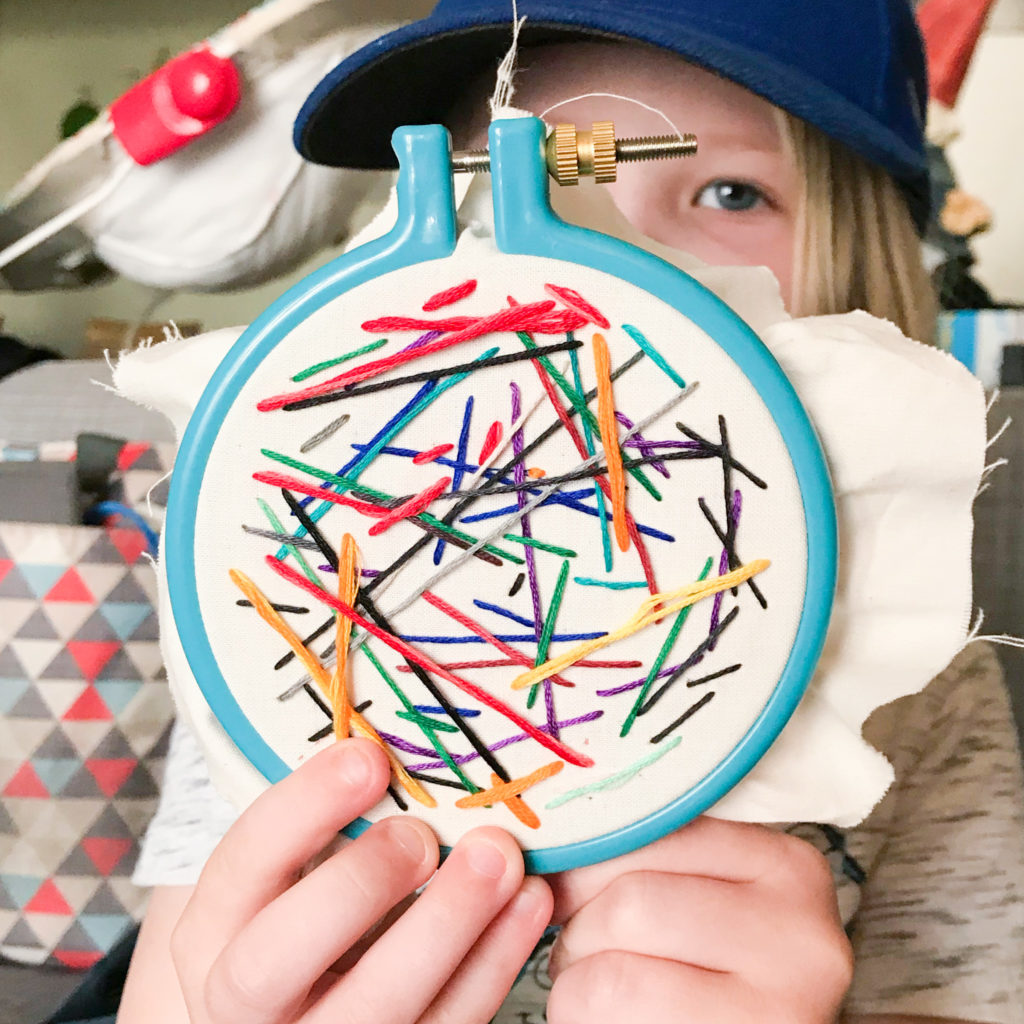
Crafting with children can be the most wonderful and the most frustrating experience. When I started my business, and began stitching almost daily, my children started asking to stitch with me. At first I was hesitant to let them try. I didn’t want them to get hurt by the needle or have me do most of the stitching for them. Finally, I gave in and let me oldest try. To my surprise, she did GREAT! Not accidental needle pokes and she was so incredibly proud of herself. Since that first day stitching I have learned a few things that make the experience even better for both of us. I’m going to share my top 5 embroidery tips for kids with you today.
1 – Trace pattern on both sides of the fabric.
When children stitch, it can be hard for them to keep their hoop right side up. They want to flip the hoop over to see where they are putting the needle. Seeing as this prevents some accidental needle pokes, I’m all for it. Problem is, there aren’t usually lines to follow on the back of the fabric. The simple solution here, is to trace the pattern on both sides of the fabric. This way when your kiddo flips their hoop over to see where to put the needle, they actually see the lines they need.
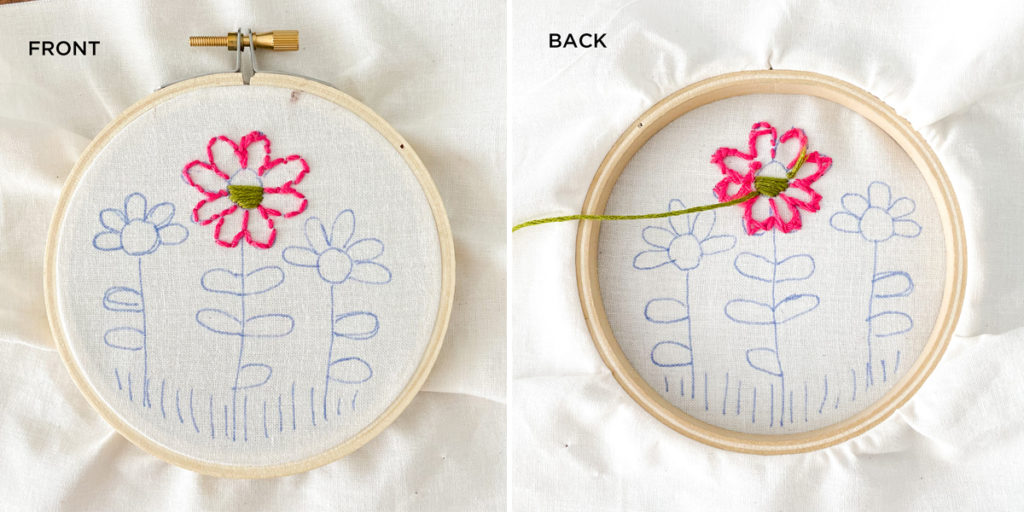
BOUNS EMBROIDERY TIP: For my younger children, about 4-6 year olds, I added the extra step of adding dots for needle points. I trace the pattern line on the front along with dots for needle points. Then on the back, I put only dots to save a little time. Dots help simplify the process for younger children.
2 – Tighten their hoop with a screwdriver
Having a tight hoop and fabric makes all the difference when stitching. It makes it easier to pull the needle through, makes cleaner lines and is easier to hold for multi-step stitches. I could go on, but I’m guessing you get the point.
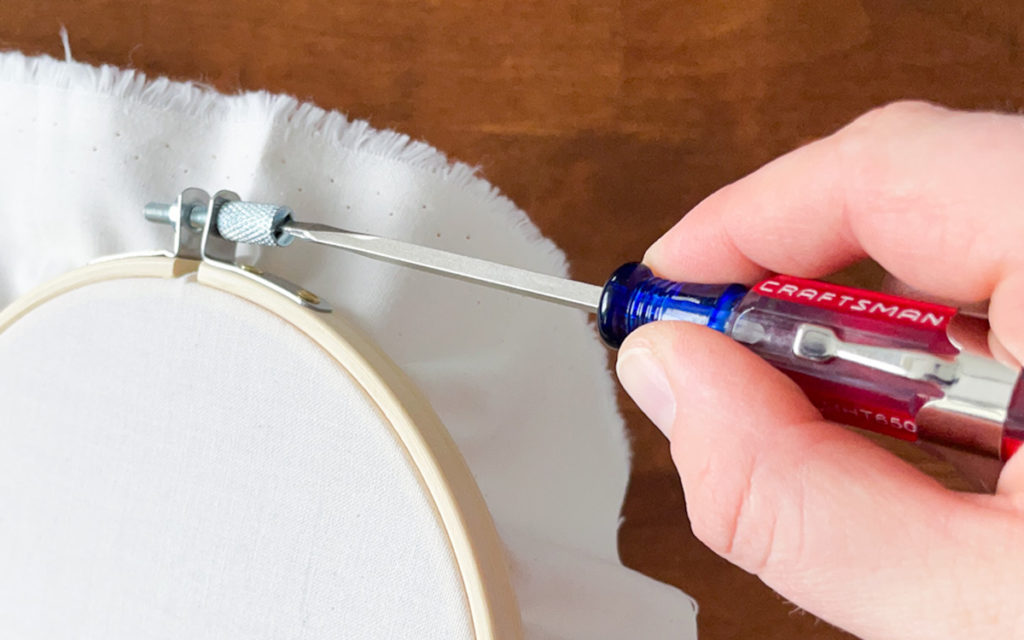
Most inexpensive hoops (I like these ones) are imperfect. For the most part this is not a problem. However, when little hands are pulling on the fabric, it can make things much more difficult. The best way to combat this, is to make sure the hoop is extra tight, and the best way to tighten a hoop is with a screwdriver. The majority of hoops have a little grove or x on the end of the bolt perfect for a screwdriver. You will be amazed at home many more turns you can get after you have tightened as much as your can with your fingers.
3 – Tie thread ends together on the needle
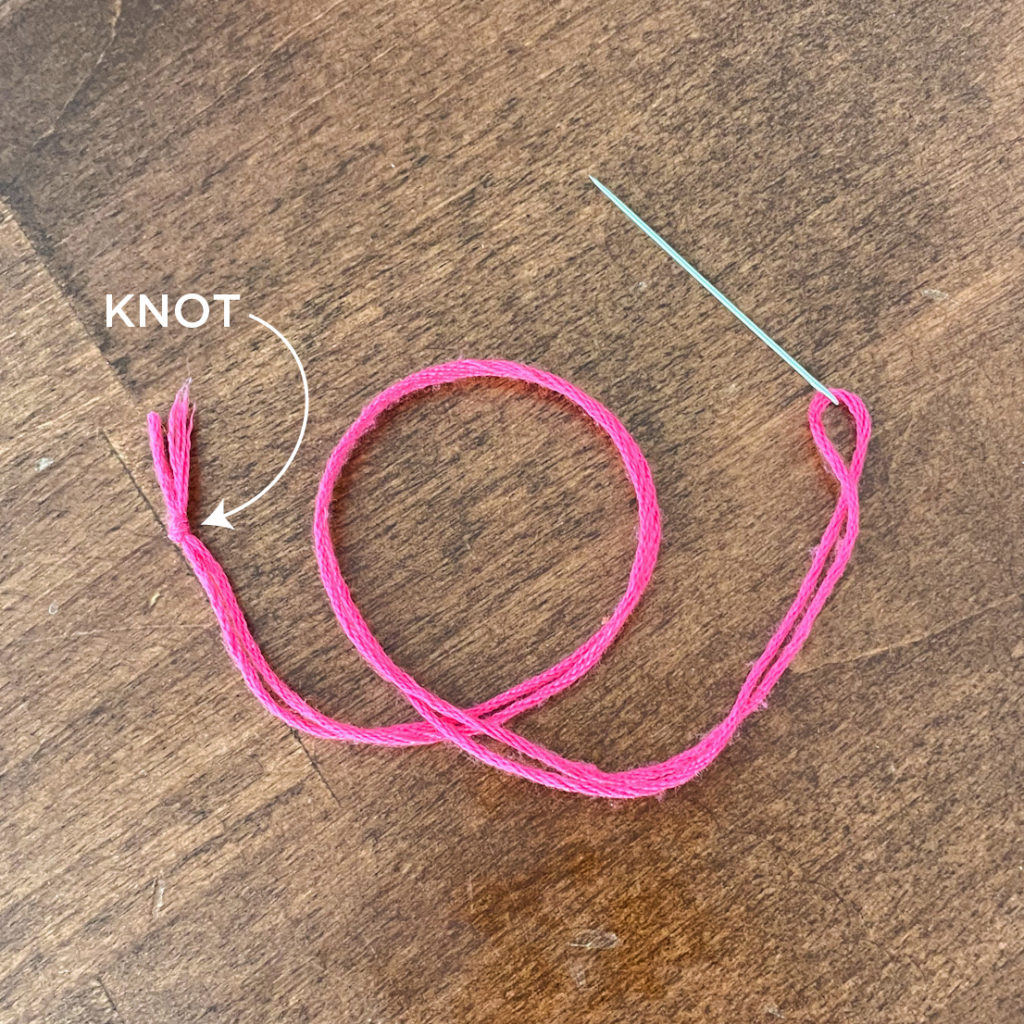
Little hands can do a lot of things, but easily threading a needle is not one of them. I’m hopeful that my daughter will figure it out by the time she is 7. Until then I am the one and only needle threader. This means each and every time she pulls her needle off the end of her thread, which is often, I have to re-thread it. Embroidery tip 3, is to tie the ends of the thread together before stitching. This means the needle is “stuck” on the thread. Then when they get to the end of thread, you tie off and cut the needle out as you trim the excess. No re-threading needed.
4 – Have a needle hand and a hoop hand
If you think about managing two sides of a hoop, knowing where to stitching, and trying not to poke yourself, your kiddo has a lot on their mind. An easy way to simplify things for them is have their dominant hand always be the needle hand. Their other hand will always be the hoop hand. Help you kiddo see which hand is which before they get to work. It will help them be able to flip the hoop back and forth, while managing the thread and needle.
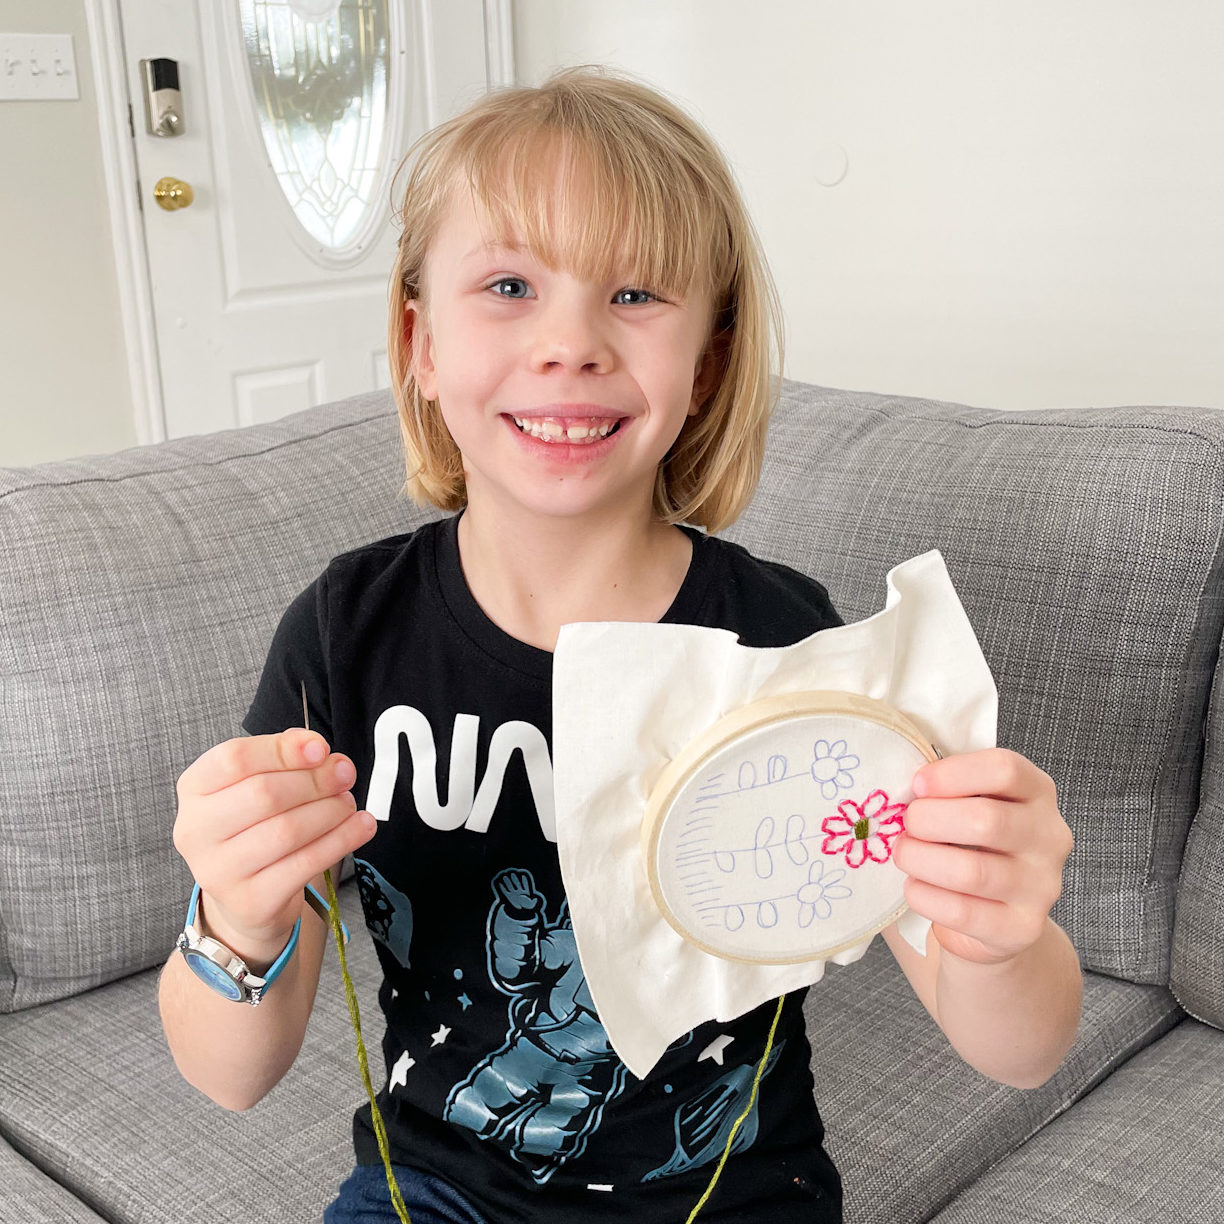
5 – Let them have fun and be creative
It’s safe to say that kid stitching isn’t going to be perfect. They are going to miss some parts and change their mind completely half way through. For a crafting perfectionist like myself this can be HARD to handle. I have found that if I critique their work and point out what the missed, they get frustrated and want to quit. On the flip side, if I praise their efforts and point out the good things, they are proud and want to keep trying and learning. Let them be in charge of how their hoops looks. If they don’t like a stitch, chances are they will ask for help. Let me know pick all the colors, no matter how crazy and miss matched they are. Allowing your little person to make the choices teaches them to be creative and brave. Think of all the fun things they might decide to make!
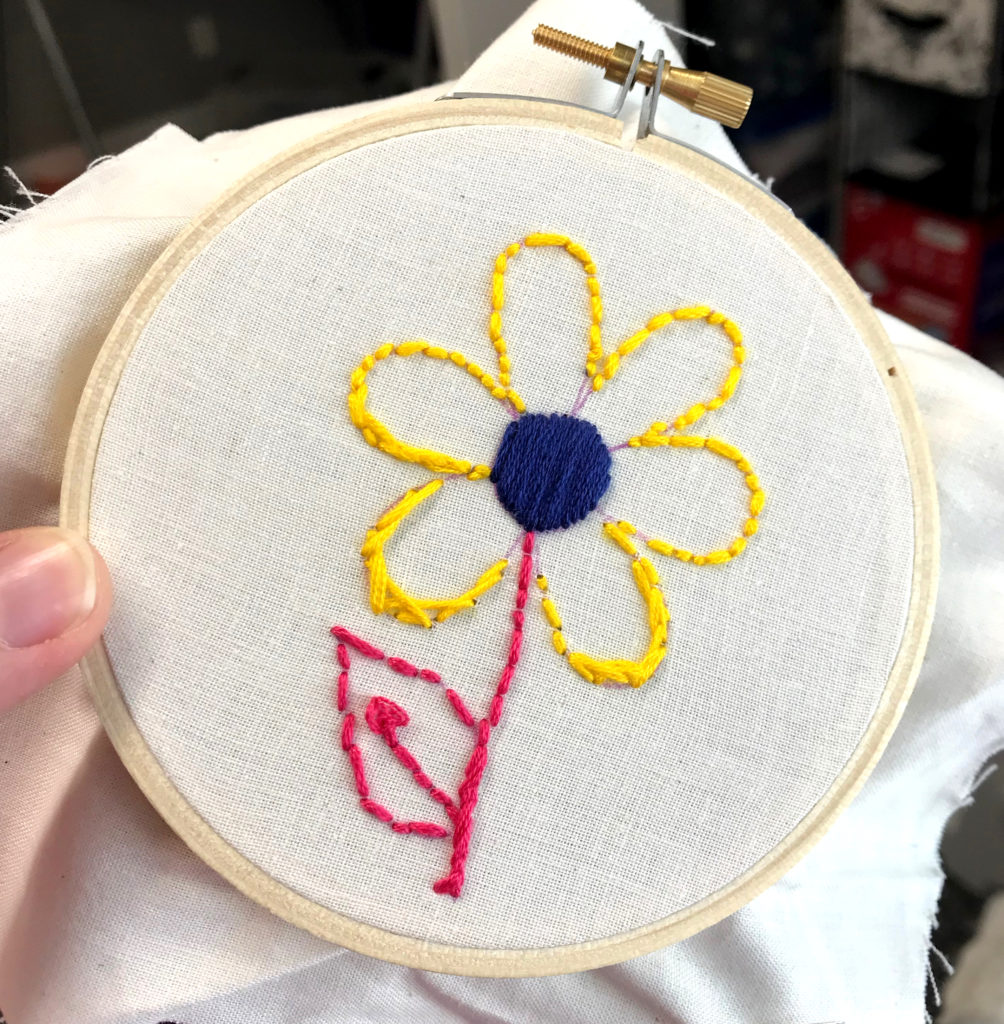
BONUS EMBROIDERY TIP: For kids younger then about 6, try letting them stitch without any lines to follow. Remember way back at the start of this post, the picture of my daughter first hoops is a great example of this. She picked all the colors and learned how to put the needle in one side and pull it out the other. Once she had a handle on working with the needle and thread, we worked on a few simple shapes. Now, she likes to draw her own patterns and follow the lines.
FREE PATTERN
Be sure to join my email list and get a free pattern great for beginners! SIGN ME UP