Simple DIY Mother’s Day Gift
April 21, 2022
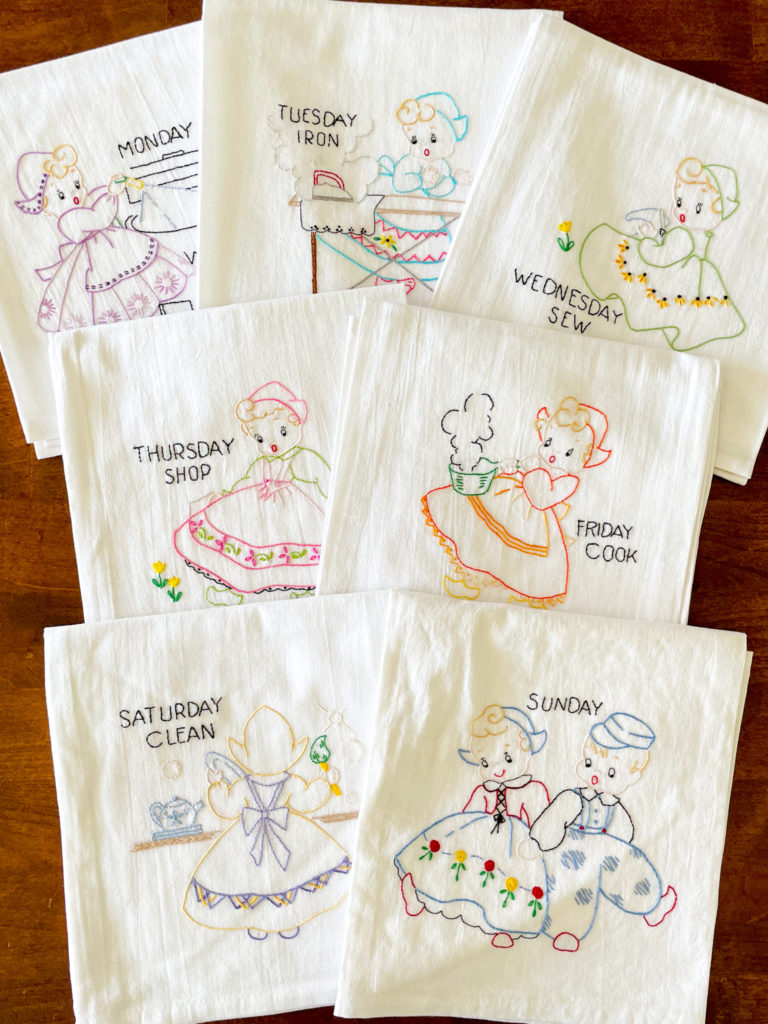
I have a love hate relationship with Mother’s Day. I never know what to get my mom, grandma or mother-in-law. They already have everything they need or want. This leaves me feeling a bit overwhelmed while searching for a new idea each year. This year, I happened upon the perfect simple DIY Mother’s Day gift idea after finding a wedding present I had hidden away. While looking through a box of linens I found this set of tea towels stitched by my Aunt Susan. I love these towels so much, I had packed them away until my kids were big enough to treat them kindly. Finding them again, brought me such inspiration. I was blow away by her perfect stitches and fabulous color choices. I immediately knew I wanted to stitch a set of tea towels for Mother’s Day gifts this year.
This post will walk you though all the steps to making your own fabulous Mother’s Day towels. You mom or grandma are going to love this personal, functional, and simple DIY Mother’s Day gift. Let’s get stitching.
(This post contains affiliate links, which means I may receive a small commission, at no cost to you, if a purchase is made through my link.)
Supplies
One of the best parts of this gift, is that your probably have most of what you need already and the things you don’t have can arrive at your door two days from now. For this project you will need:
- Flour Sack Tea Towels – I got these ones from Amazon
- Embroidery Floss
- Needle
- Hoop
- Scissors
- Erasable pen – these are my FAVORITE heat erasable pens
- Design to stitch
Picking Your Design
The first step in this project, is deciding what to stitch. For my towels, I knew I wanted to give to both mom and grandma. I wanted something simple and beautiful for my mom and something drawn by my kids for grandma.
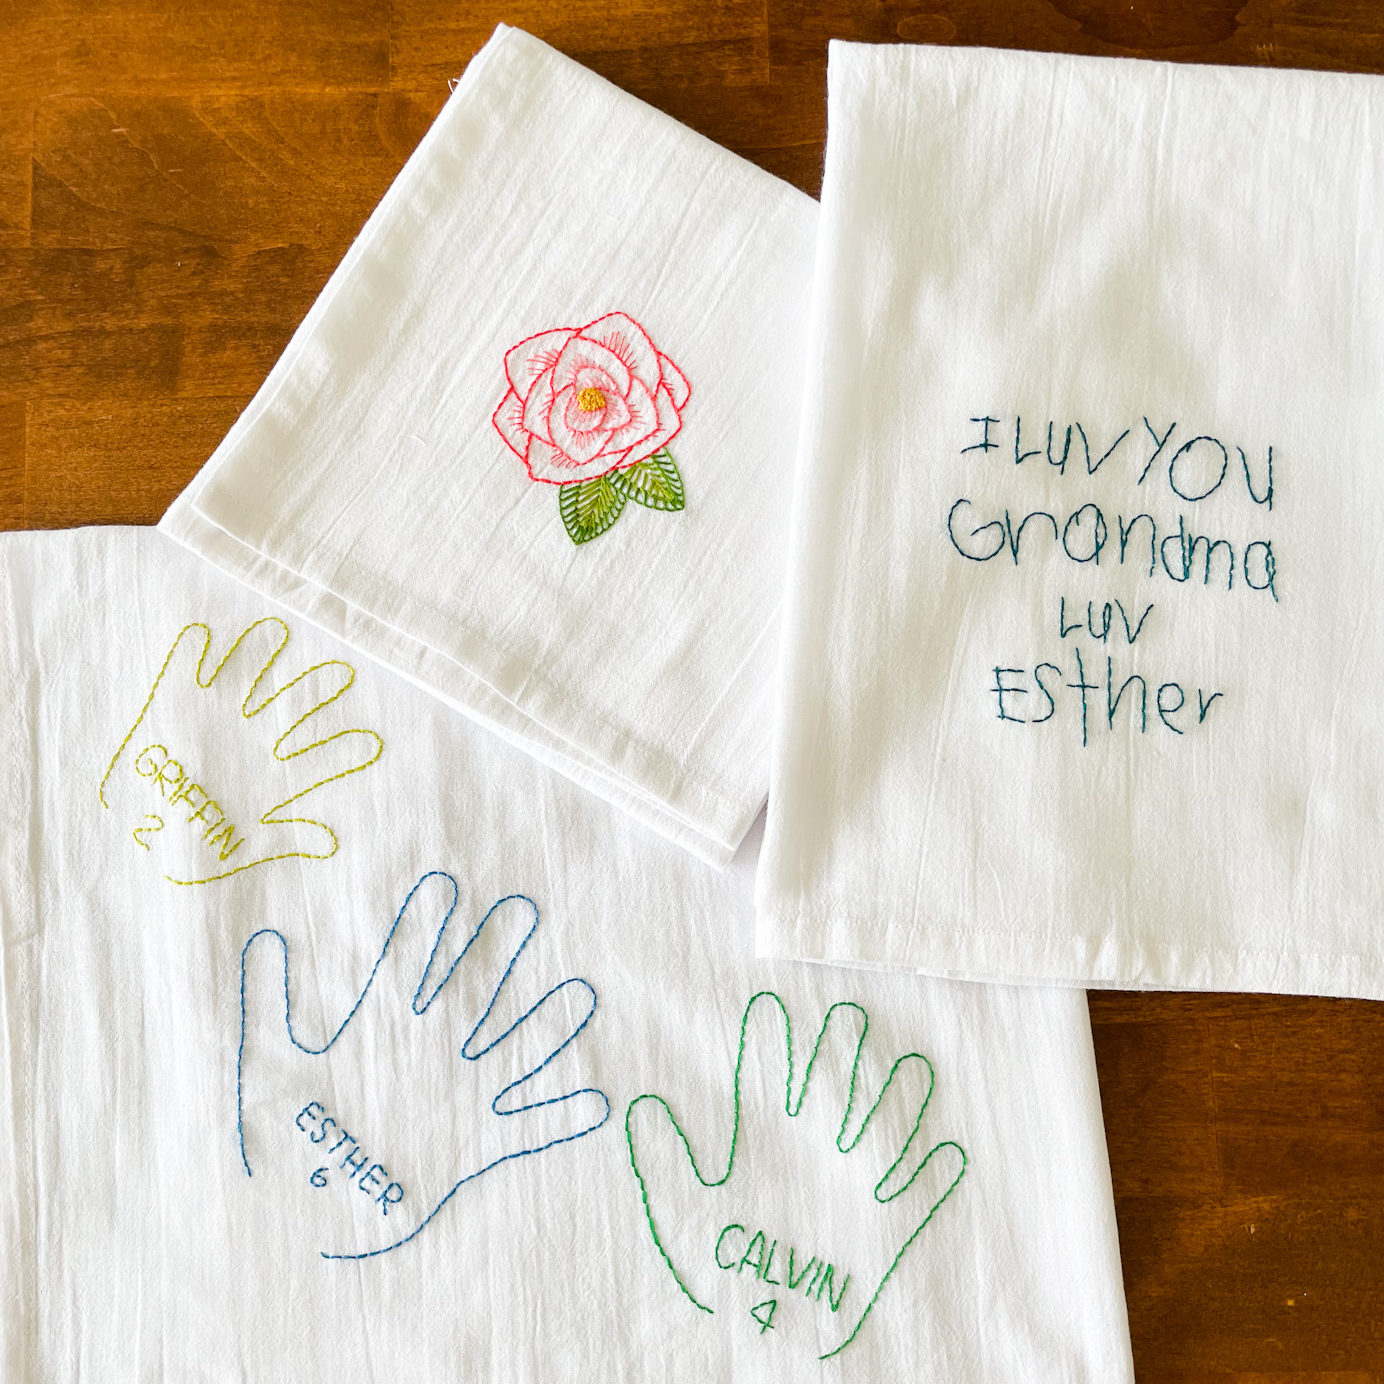
Each of these designs is simple and quick to stitch. Let’s talk about how to make them.
DIY Mother’s Day Designs For Grandma
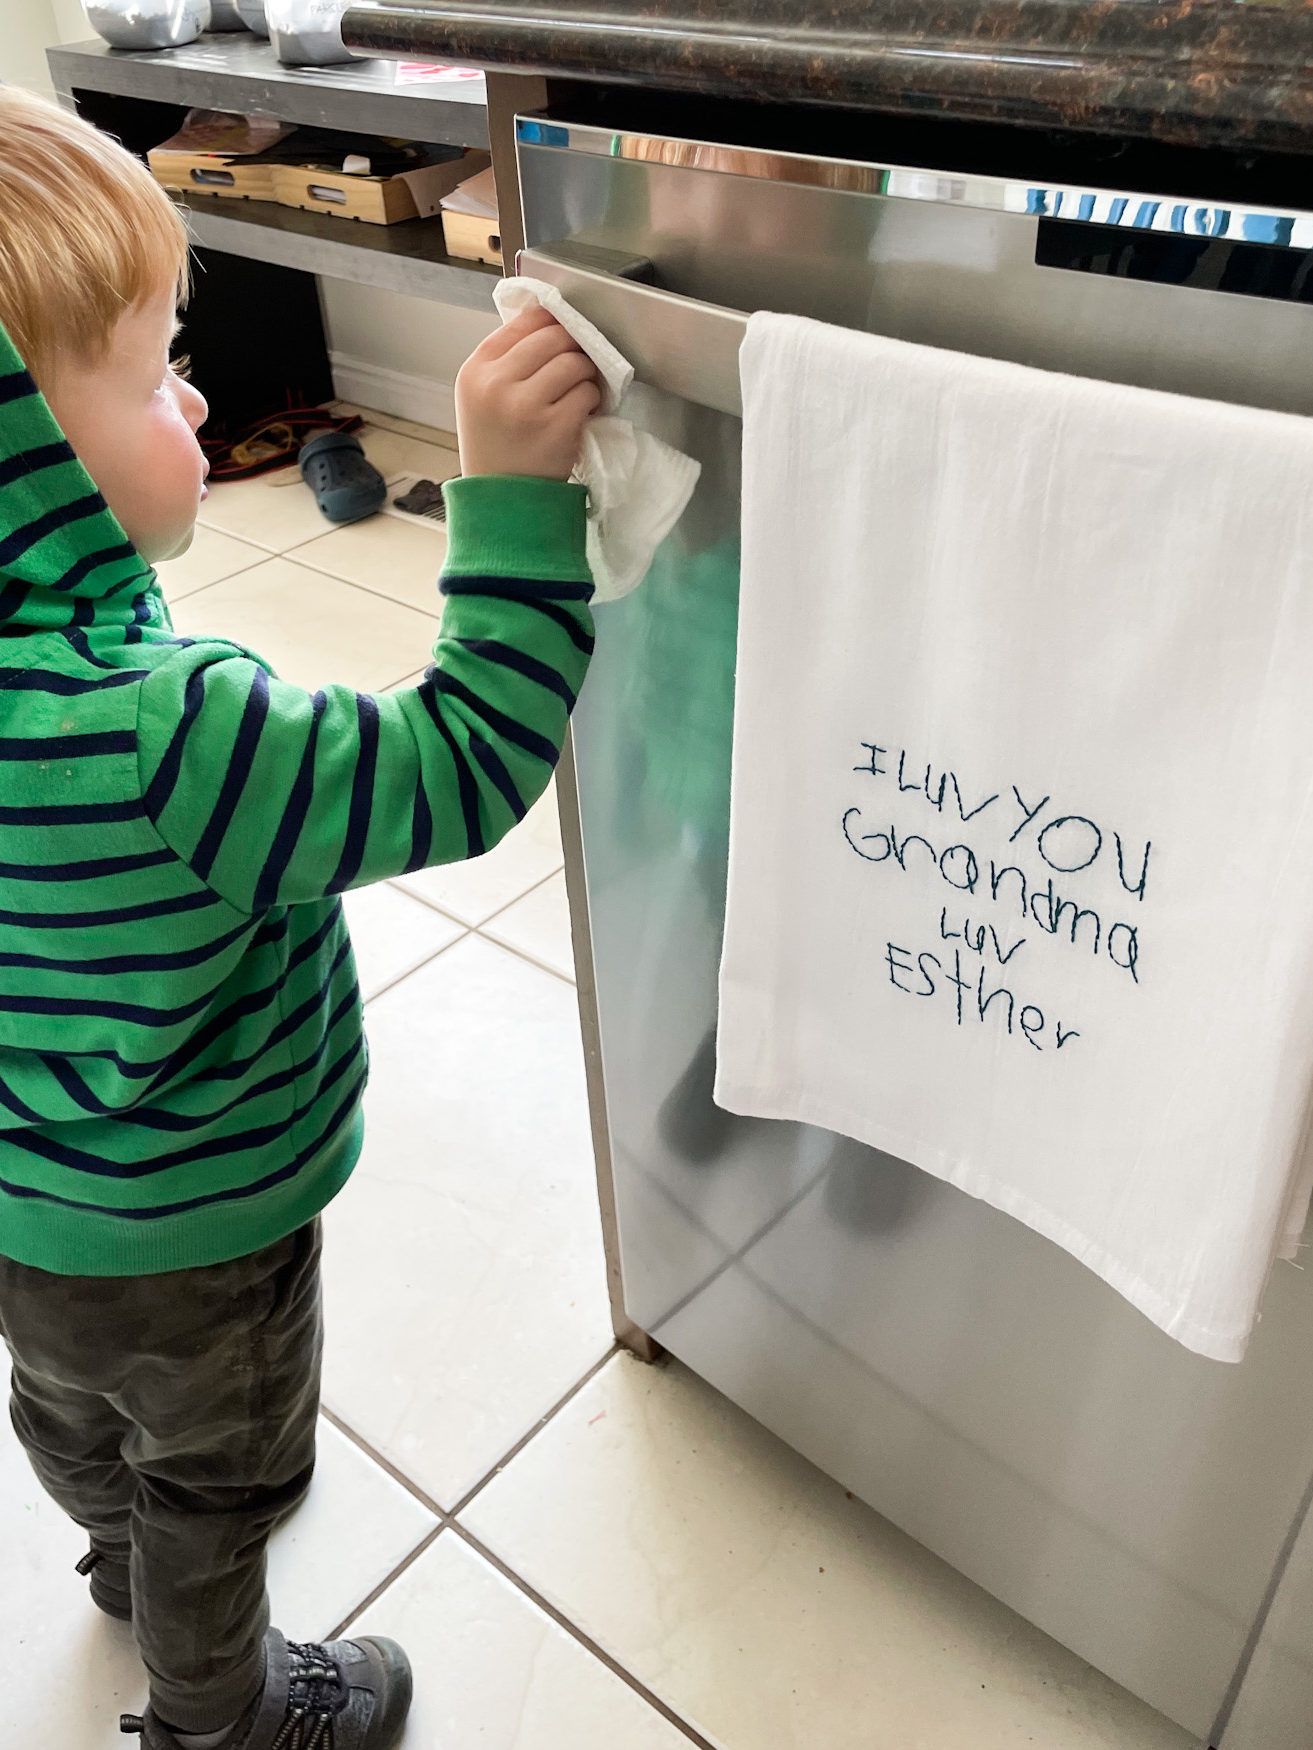
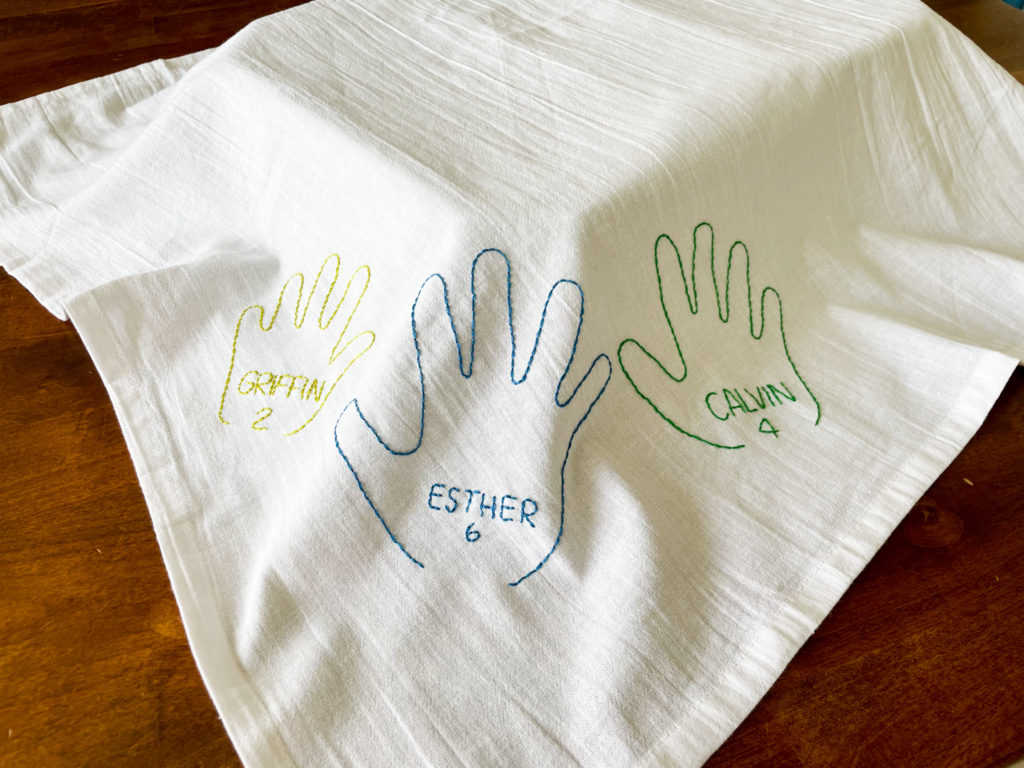
To make a design for grandma, think about things like a hand written message, simple drawing or hand prints. My youngest two don’t really draw much yet, so I went this hand prints for all three, and had my oldest write a message to her grandma.
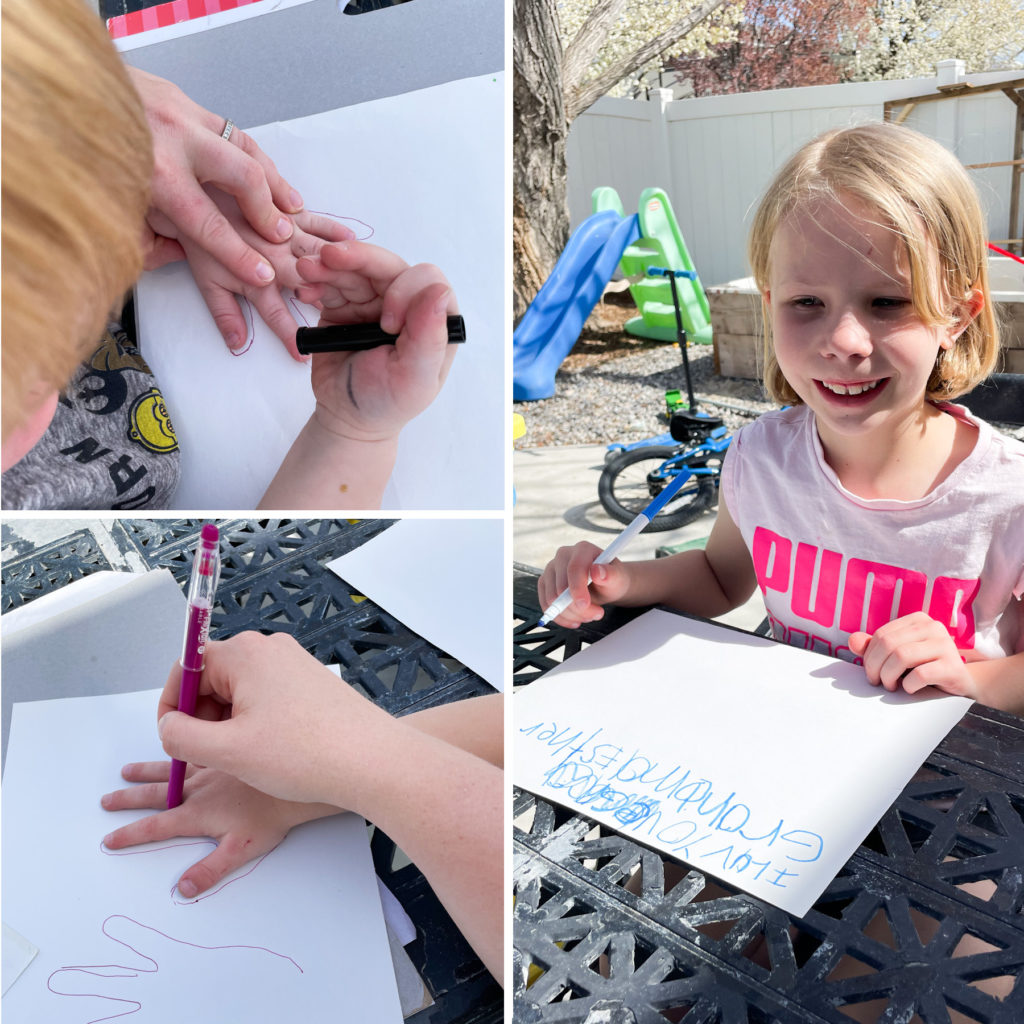
For these designs any paper, and writing implement will do. Let me them pick something they are comfortable with. Once they are finished writing, drawing or tracing, gather up their work and evaluate what you have to work with. For the handprints, you should be able to transfer those as is to your towel. Then add their name, the date/year, or their age. For a drawing or message, think out scale and layout before you transfer. You might need to enlarge or shrink the design to be a stitch-able size and fit well on the towel.
DIY Mother’s Day Designs For Mom
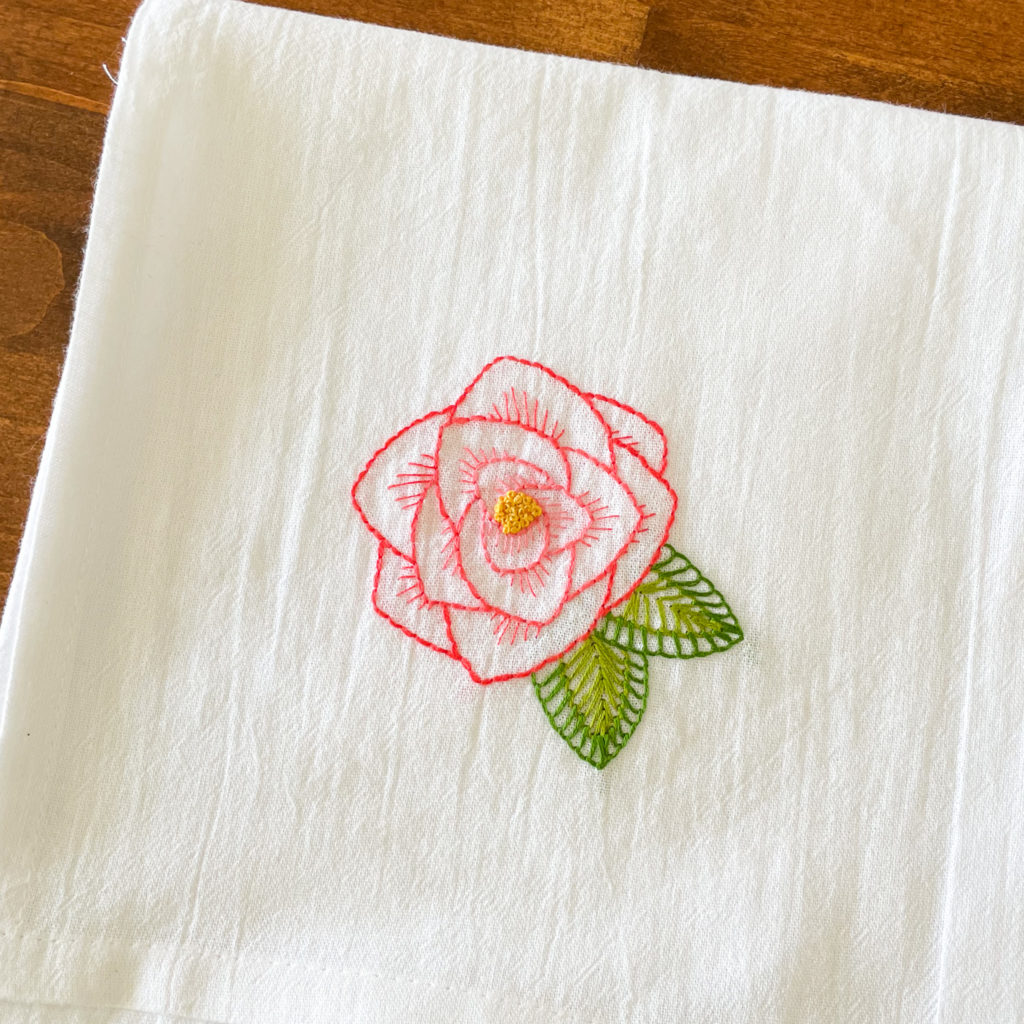
To make a design for mom, think about things you and/or you mom like. Flowers are always a great idea. Start by looking for some inspiration and sketching out your idea. Next, refine you sketch as needed. I like to do with step with tracing paper so I can easily move elements around as needed. Then, when you are happy with your design, make a final tracing of your design. This is what you will use to transfer your design to the towel.
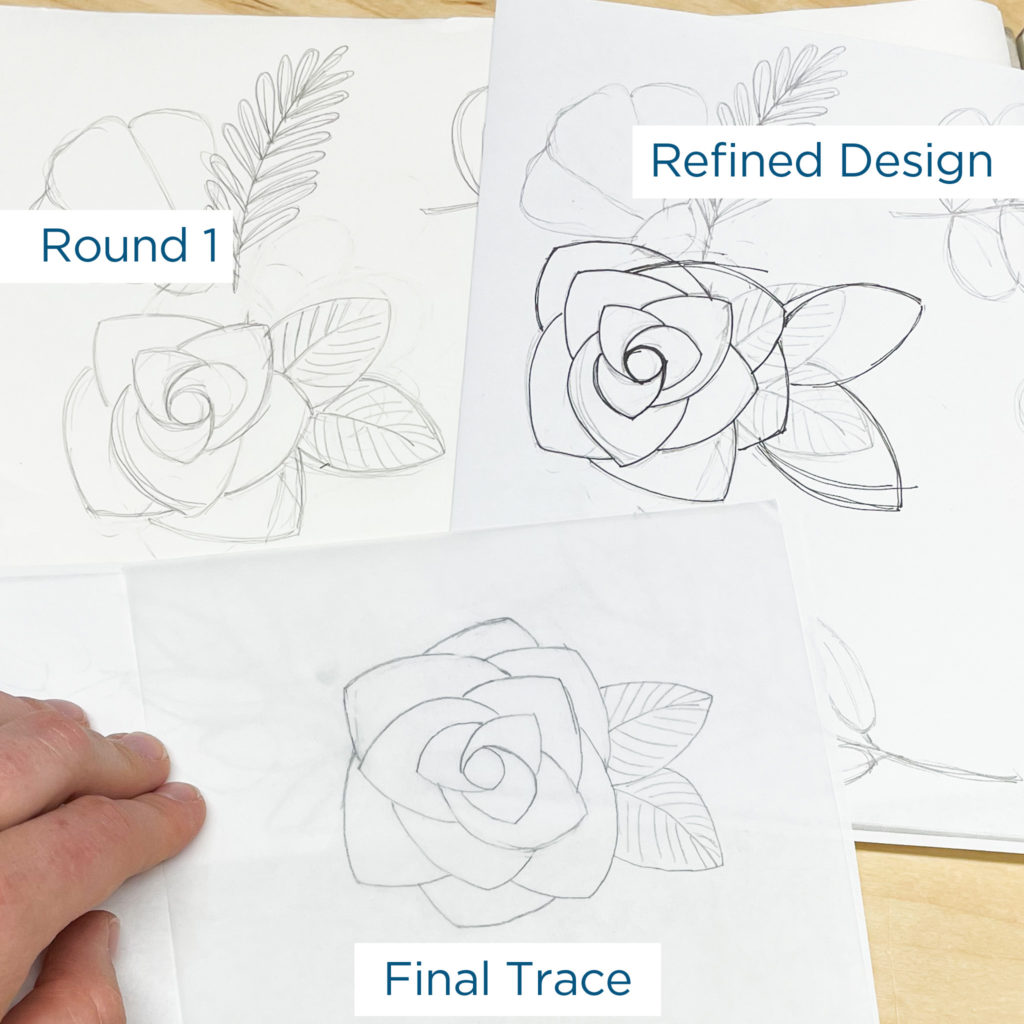
As you are sketching be sure to think about how your design will transfer to stitching. Since you towel will likely be used, simple line stitches like backstitch, stem stitch, split stitch, chain stitch, and french knots will be the most durable.
Design Transfer
Before you transfer your pattern you need to show a little love to the towel. Take the extra minute and iron the towel. It can be helpful to wet the towel before you iron to help get out stubborn wrinkles. If you skip over this step and stitch over the wrinkles, they will be next to impossible to remove after.
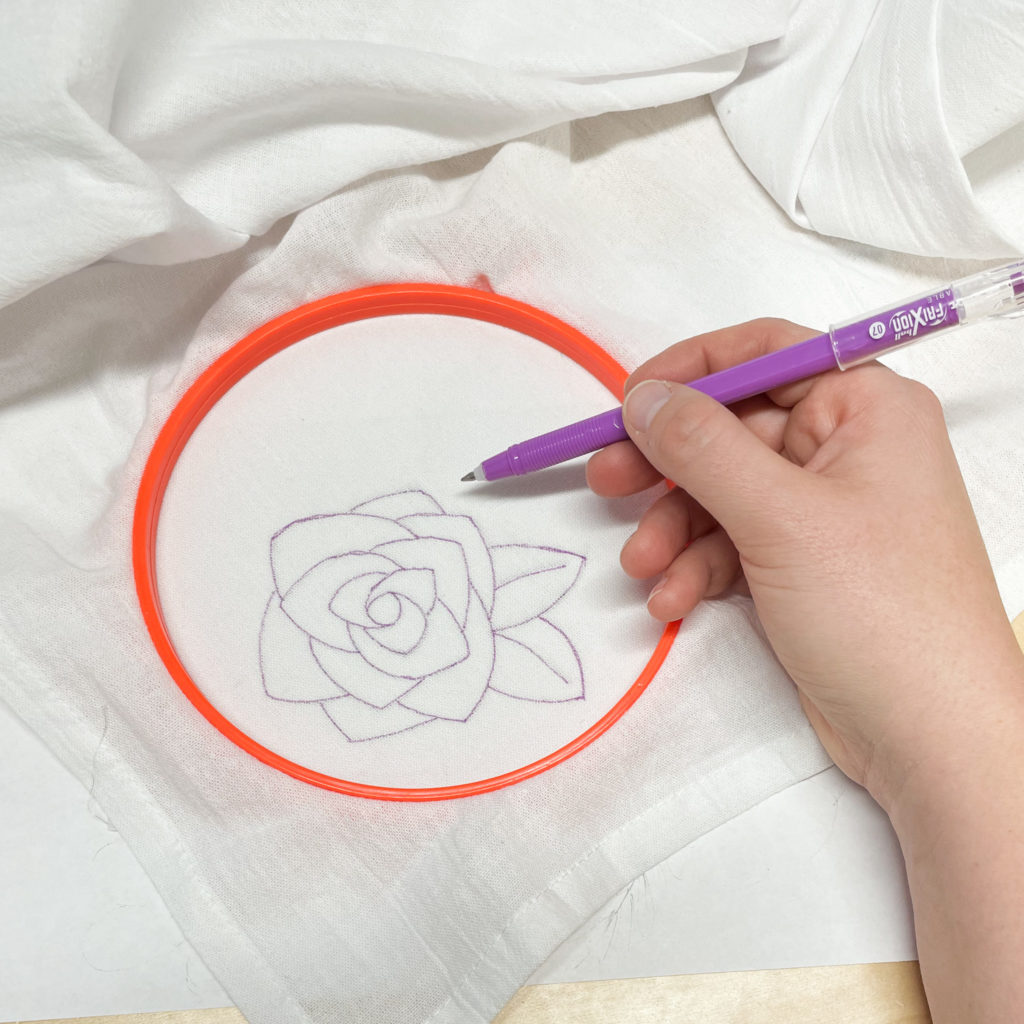
With your towel ironed you are ready to trace your design. Remember it is easiest to trace your pattern with your fabric in a hoop and touching the pattern. You can see my hoop is sitting directly on top of my pattern paper. Also note, you might not want need/want your image centered in the hoop. I wanted my flower to be in the corner of the towel. I first put the hoop close to the fabric edge and then placed the flower in relation to the edge of the towel, not the edge of the hoop.
Tips For Stitching
- Light hoop tension – flour sack cloth has more stretch and a looser weave. This means you need to be careful how hard you pull the fabric as you tighten your hoop. If you stretch it too much, the towel could have trouble laying flat.
- Gentle stitches – be careful to gently pull all of your stitches through. Pulling them tight will create gaps between your stitches.
- Knot ends – plan for your towel to used and washed. Be sure to knot and anchor both ends so they won’t come undone with use. For me this meant I added an extra knot at the end of each section of floss, and started with an extra large knot so I wouldn’t pull through the fabric.
- Move your hoop – some designs will be too big for a standard sized hoop. For those designs, stitch one area at a time, moving your hoop to a new section when you have completed the previous section. Example, I put my hoop around on hand print at a time. This means my hoop was in three locations to get all the hands stitched.
- Iron before and after – when you have finished stitching, be sure to iron out the hoop ring left in the fabric. It comes out best if you wet the lines first and then iron them out.
Flour Sack Tea Towels
If you are new to flour sack towels, they are a thin cotton towel that is usually about 28 X 28″. I use my most frequently when baking. They are the perfect weight and texture to cover rising dough or cooling cake. They are also great for displaying in the kitchen or cleaning up.
Change it up with Fabric Markers
If stitching several towels feels overwhelming or frustrating, consider this backup plan for a simple DIY Mother’s Day gift. Grab this set of fabric markers, and have your kiddos draw directly onto the towels. We did something similar with fabric placemats a couple years ago for Christmas and they were a big hit. My mom has washed her placemats many times since then and the ink has held up well without bleeding or fading.
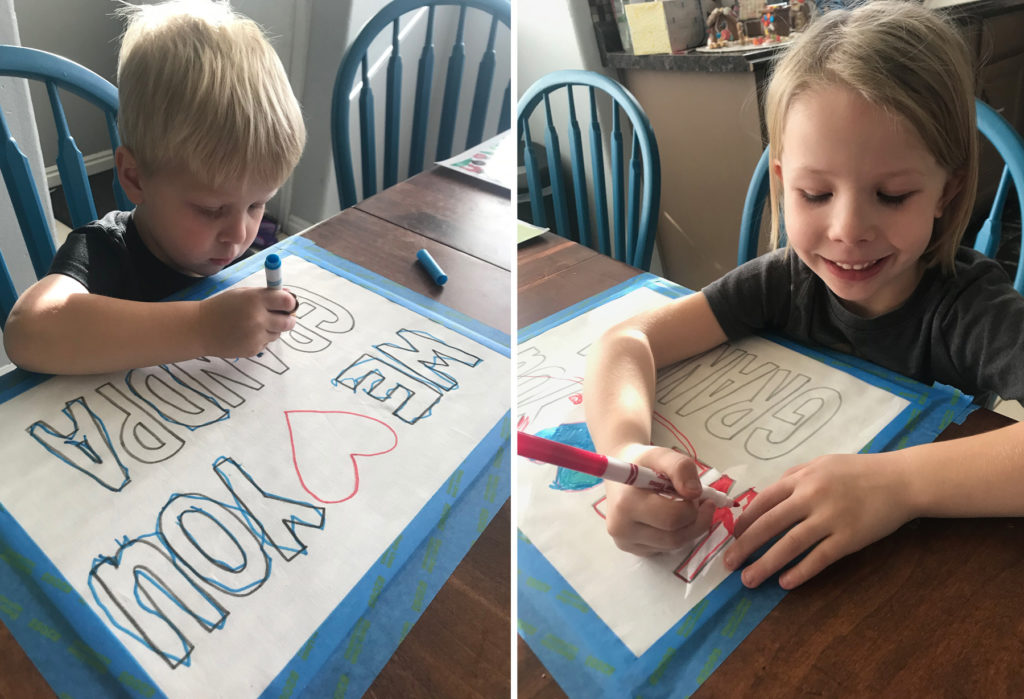
To draw directly on the towels tape them down to the table so they don’t move. Be sure to put a scrap piece of paper under the towel if you don’t want ink on your table. Then finish your work by following the directions on the box to set the ink before you gift them.
One More Idea
If you are looking for a simple handmade gift without all the work of gathering supplies and making a pattern, check out this post “Handmade Mother’s Day Gift for Grandma.” (PS it would make a great gift for Mom’s too.)
Thanks for the helpful Mother’s Day suggestions