How To Make A DIY Valentines Garland
January 18, 2022
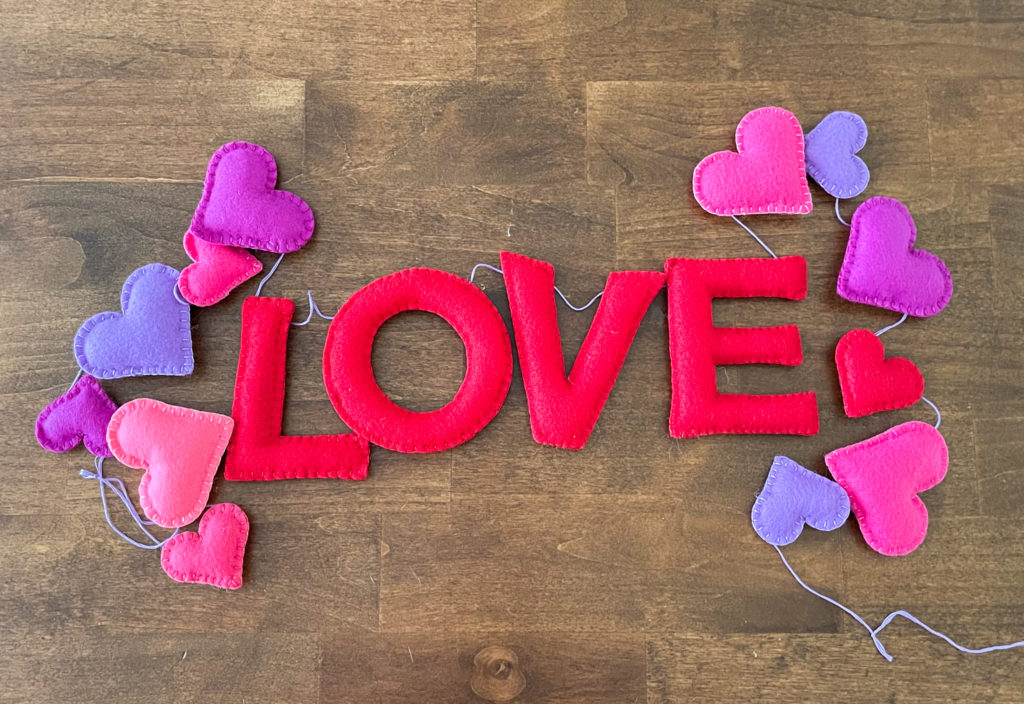
Have you ever wanted to make a DIY Valentines garland? I’ve made several over the last few years. This one is my favorite! I love the puffy finish of the shapes and the warm texture of the felt. This garland is scrap friendly, easy to make and a great couch craft to work on between now and February. Let’s get started.
(This post contains affiliate links, which means I may receive a small commission, at no cost to you, if a purchase is made through my link.)
Supply List:
- 3 – 8.5 X 11″ sheets of felt or the equivalent in yardage or scraps. (You can buy this online, but I recommend going to a local craft store where they are less than a dollar a sheet.)
- Pattern – Download the pattern I made and used or make your own. My pattern includes two cut outs for the following: the word “LOVE,” 6 large hearts, and 6 small hearts.
- Coordinating floss
- Poly-fil
- Needle
- Scissors – My favorite floss scissors, Fabric scissors I use on felt
- Freezer paper
Why Freezer Paper?
I know tracing on felt and then cutting it can be challenging. When I try to draw on felt and then cut, my lines never seem to be exact enough, so end up having to cut everything twice. The solution is – freezer paper and a sharp pair of scissors.
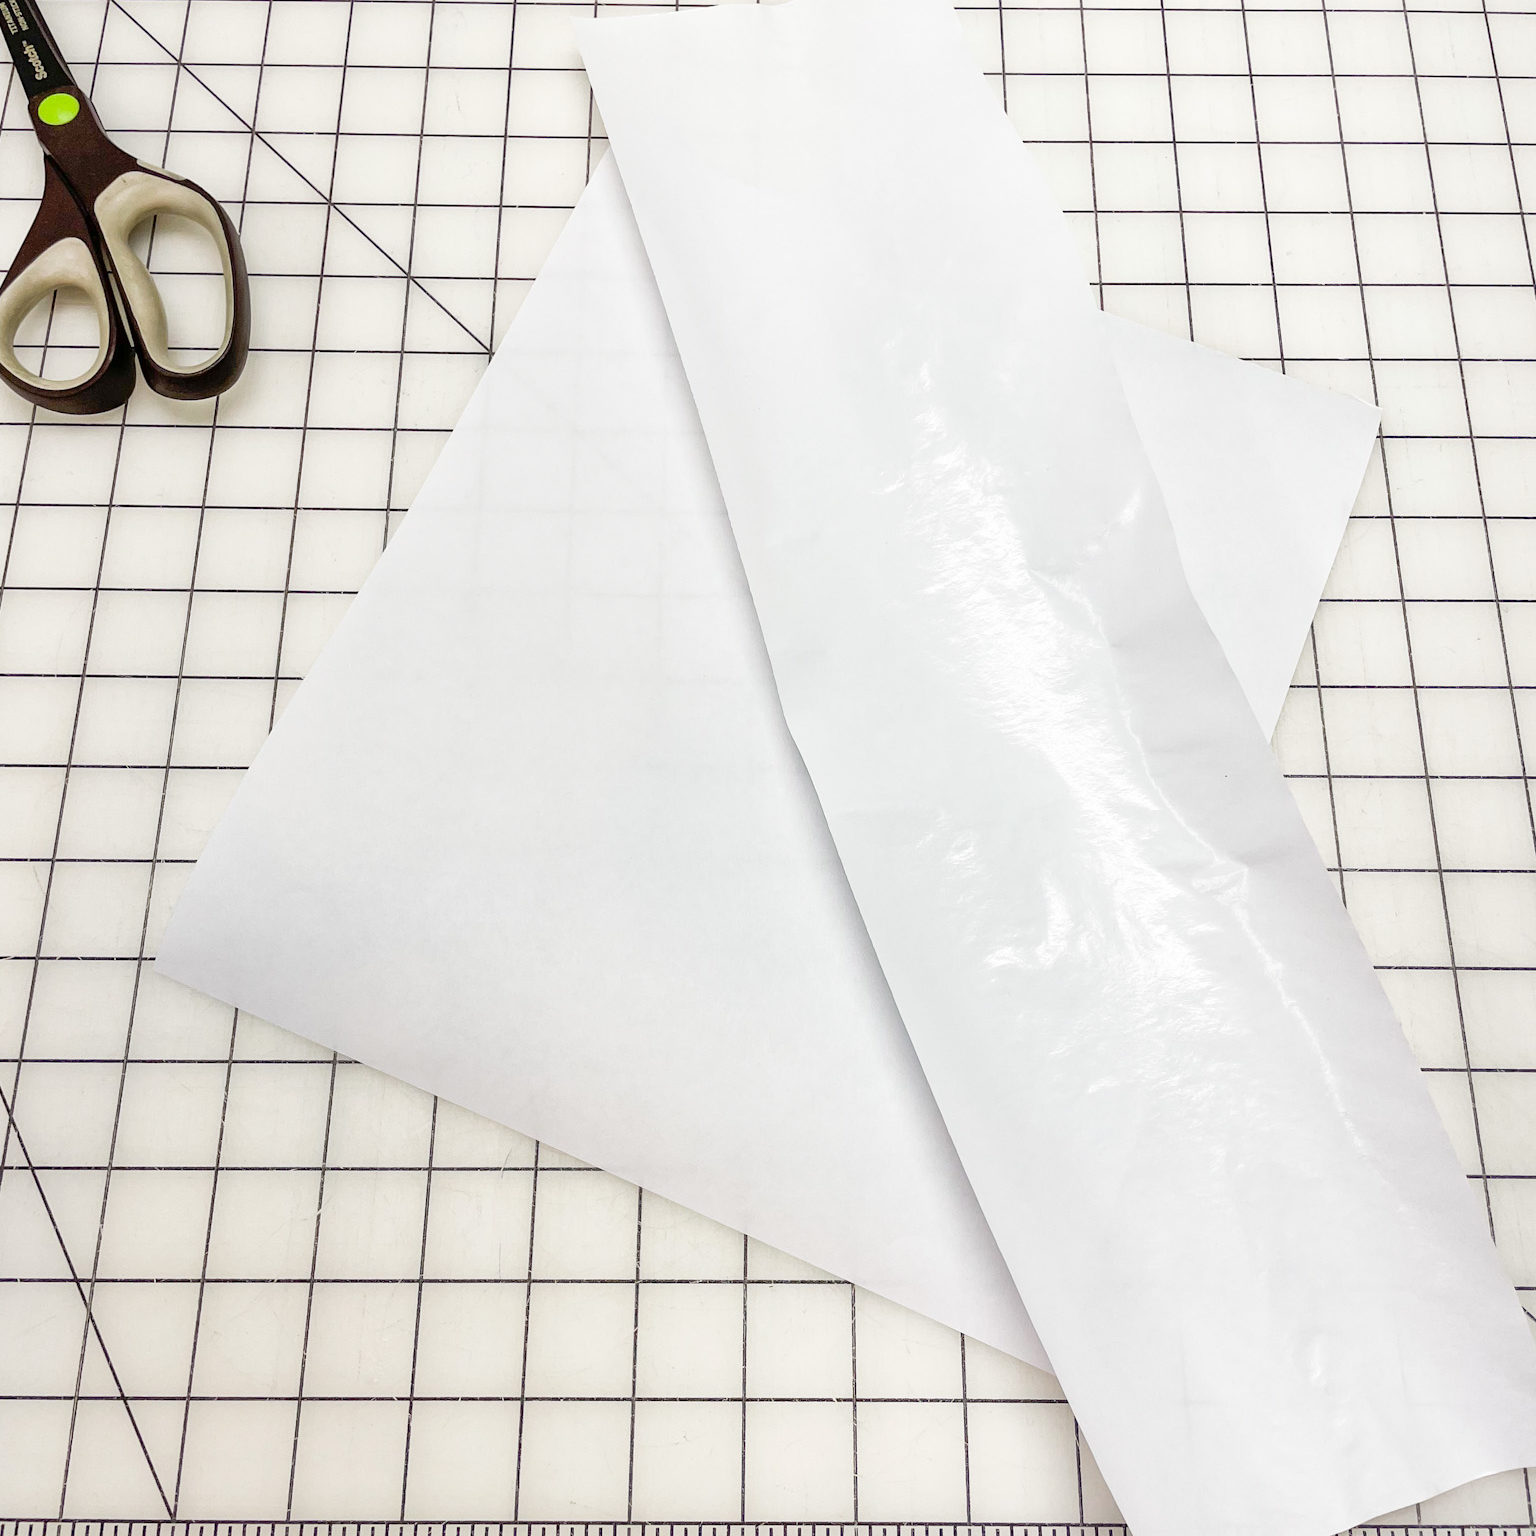
Freezer paper has two sides to it. One side is shinny and waxy, the other side is matte and can be written on. The matte side is where you would draw any shape you wanted to cut out. Here’s the cool part. Using an iron you can attach the shinny side to fabric. Then cut out your design, and peel off the paper leaving no residue. Pretty amazing, right?
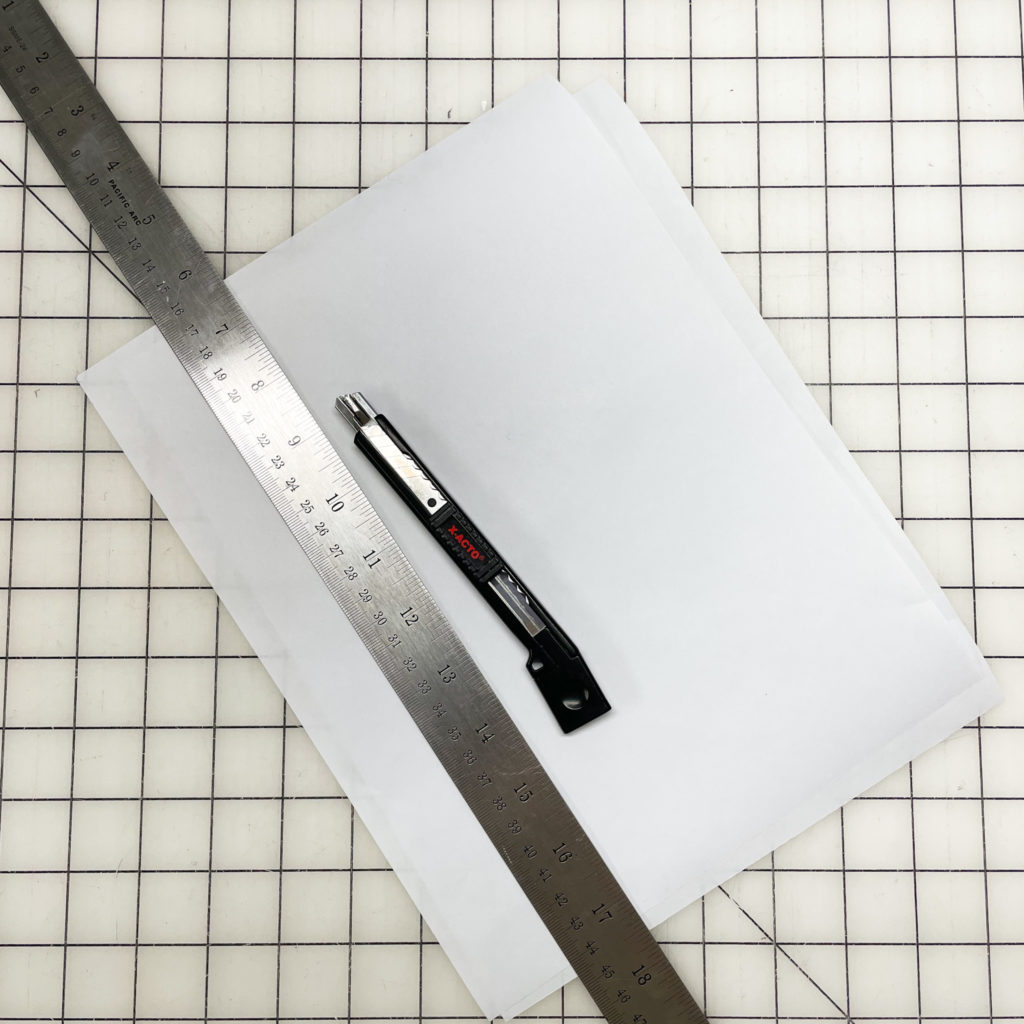
For this project, I cut my freezer paper down to 3, 8.5 X 11″ sheets of paper. Then I fed them through my printer, one sheet at a time, and printed my pattern directly onto the freezer paper. If you have never done this before, make sure you know which way to put the paper into the printer so that you print on the correct side. Your printer will not be happy if you try and print on the shinny side. You could also opt to print the pattern on normal paper and then trace it onto the freezer paper.
Just in case you missed it in the supply list, you can get a FREE copy of the DIY Valentines Garland pattern I used for this project here!
Attaching the freezer paper
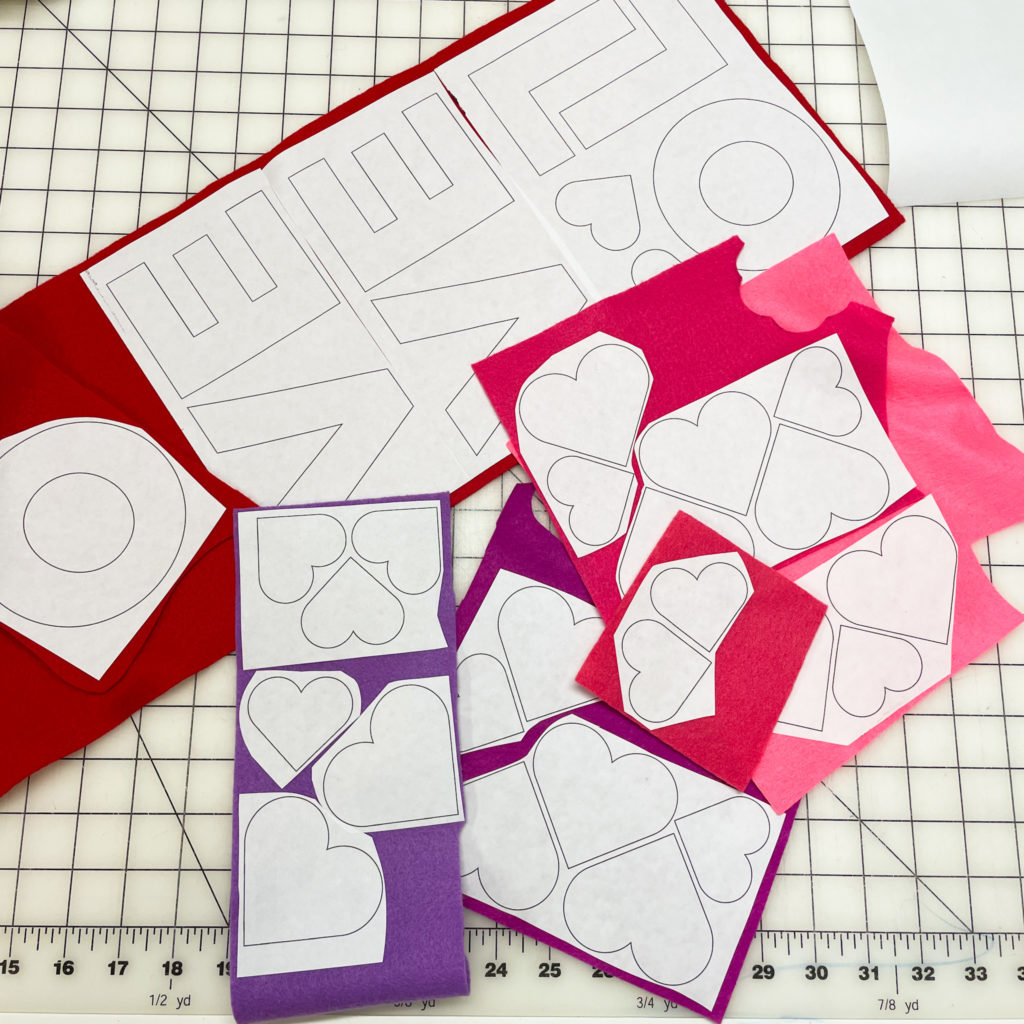
Once you have printed, traced or drawn your pattern on the freezer paper, it’s time to attach it to the felt. Depending on the size of your felt pieces or the colors you have chosen, you might need to cut your pattern into smaller sections. Then layout your pattern pieces on the felt to make sure everything fits.
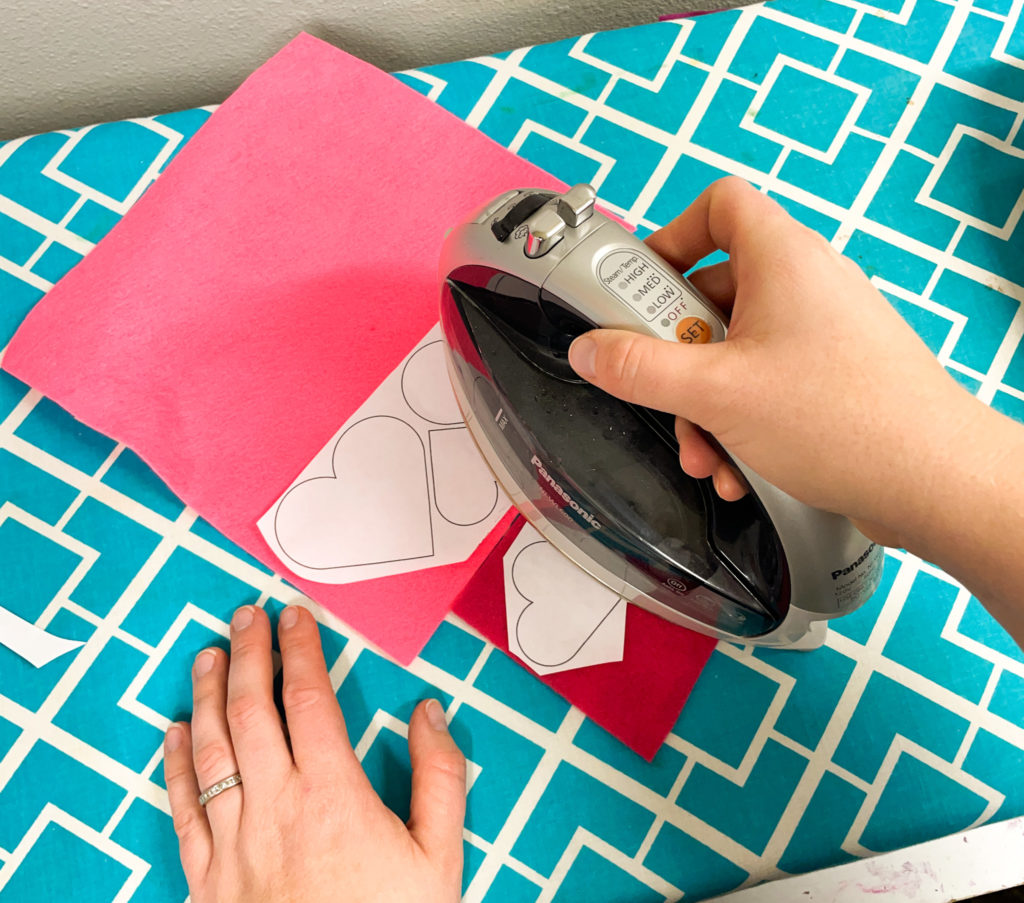
Next, set your iron to medium heat. Then iron each section of freezer paper for just a couple seconds. It doesn’t take long for it to attach.
Cutting the felt
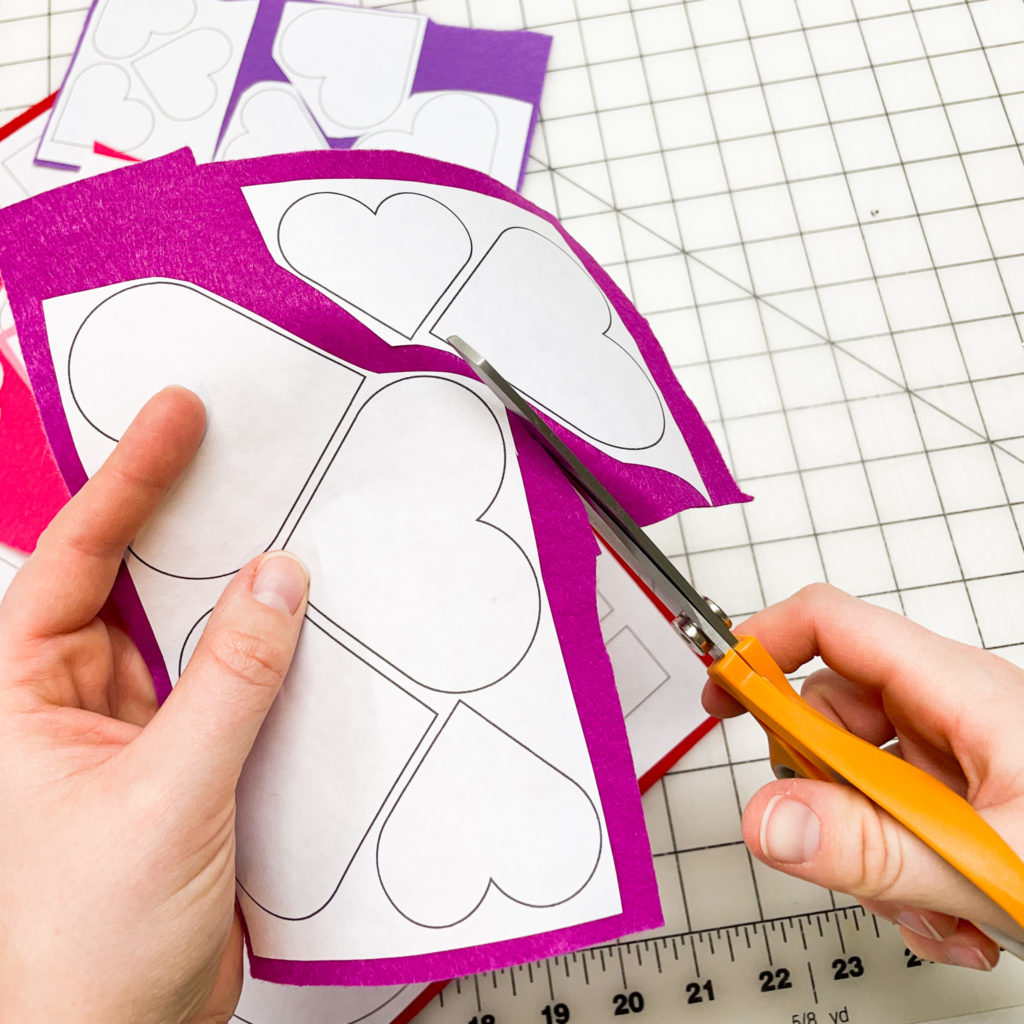
To get a smooth cut on felt your need to have sharp scissors. They do not need to be specific fabric scissors like the ones I have, but the must be sharp. Go slow and allow your scissors to do the work for you. I find yourself struggling with a large section, try cutting it off a portion before continuing.
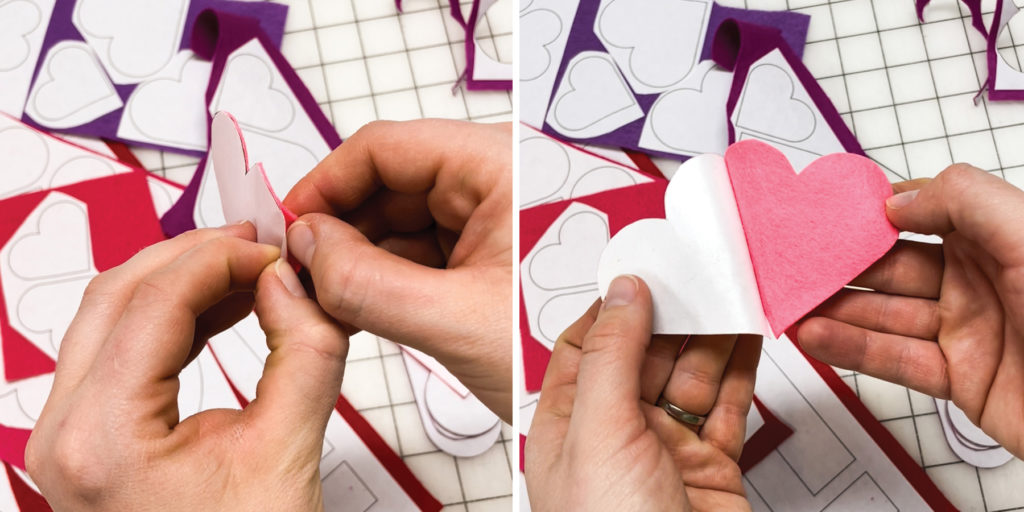
Once all your shapes are cut out, remove the freezer paper. Start that the edge of your shape and peel up the edge just like you would a sticker. Pull to remove the rest.
Blanket stitch and fill
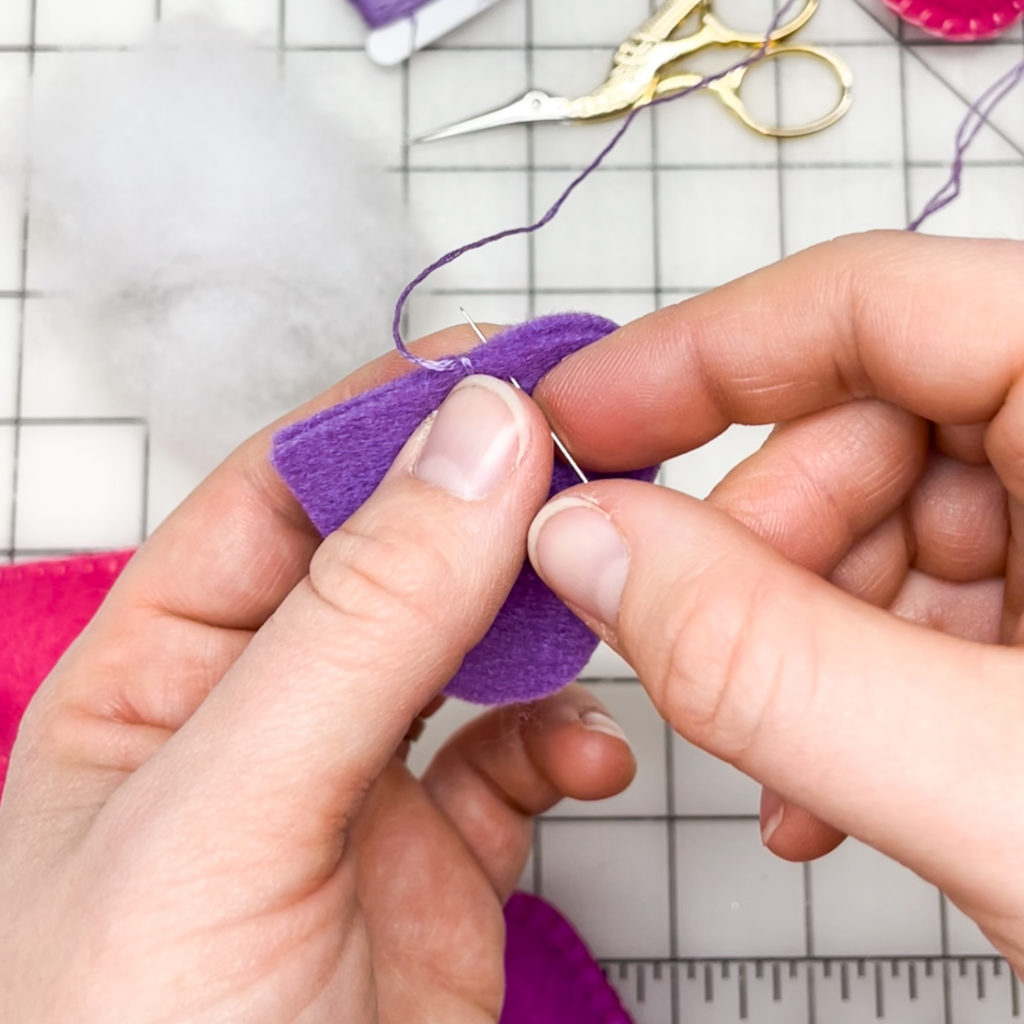
Pick the front and back for your shape. Alight the edges and begin making a blanket stitch (find a full tutorial for blanket stitch here). You will need to stop periodically to add Poly-fil to your shape. If you stitch all the way round and only leave a small hole to stuff from, it can be very difficult to get the Poly-fil all the way into the corners. On the hearts, I like to start on one of the straight edges and work my way over the rounds on the top. I stop on the opposite straight edge to will the top half of the heart. Then I stitch around to the point leaving a small opening to finish filling. Then I stitch the rest closed and tie off the thread.
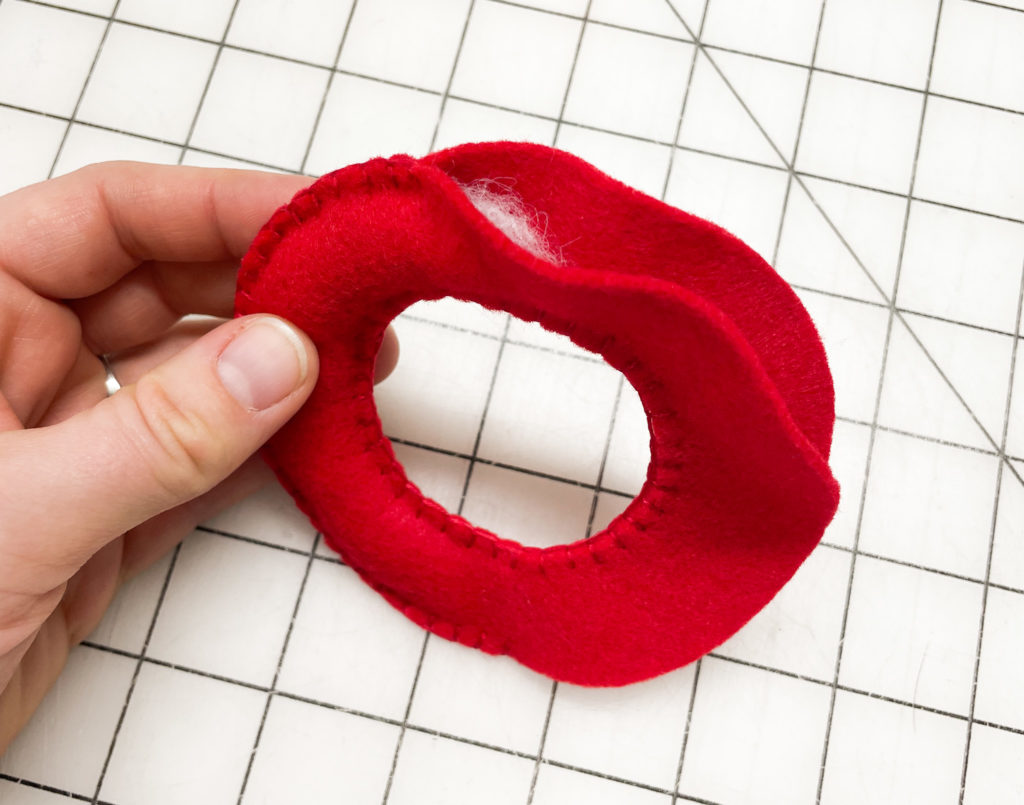
For the letter “O,” first stitch the center edges together. Then move to the outer edges. Stitch 2 or 3″ at time, stopping to fill as you go. For letters “V” and “L” stitch and fill one arm of the letter at a time. For the letter “E,” stitch all but the straight left edge of the letter together first. Then fill the three horizontal lines. Finish with the straight vertical portion.
String your DIY Valentines Garland together
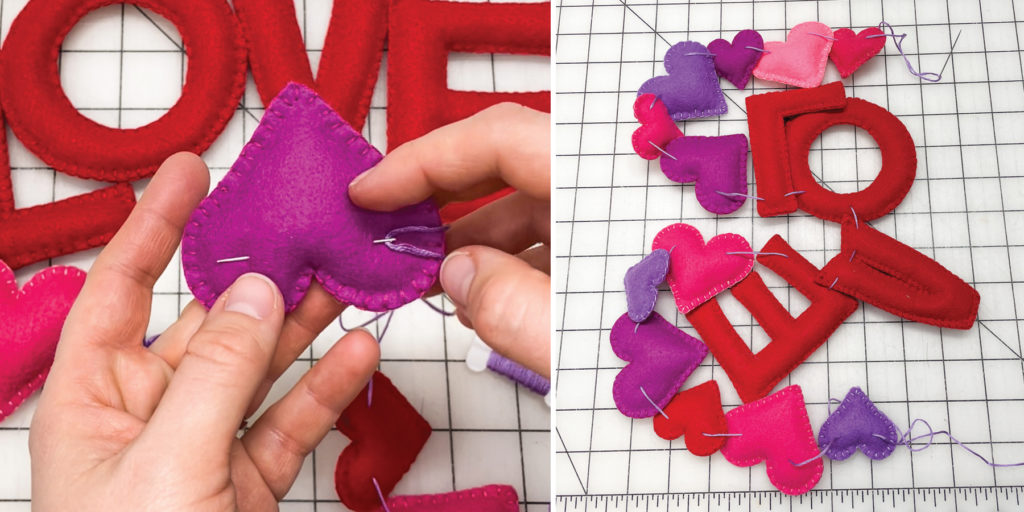
First, layout your shapes in the order you want. It is always easier to adjust order before you begin attaching the shapes to the floss. Then, thread your needle onto the floss. I like to leave my floss uncut until I see the garland hanging and know I like the final length. Use a long/large needle. Go in and out of each shape on the back. Stick close to the top of each shape so everything will hang nicely. If you go through the middle the shapes have a tendency to flop forward, especially the hearts which are top heavy.
All thats left to do is to hang your garland up and cut off the excess thread. Happy Valentines!