Embroidery Supplies And Tracing. Nativity Stitch Along – Day 1.
November 8, 2021
Welcome to day 1 of the Nativity stitch along! Today we are going to cover the embroidery supplies needed for this project, setting up your hoop, and tracing the pattern. Let’s get started. (Scroll to the bottom to see the video for day 1.)

Supplies
For the Nativity hoops you will need:
- Pattern
- 8″ Hoop
- 11″ square of cotton fabric
- erasable tracing pen – Pilot Frixion pens are heat erasable
- DMC Floss – online source
- Needles (size 3 and size 8) – assorted needle pack
- Scissors – my favorite pair
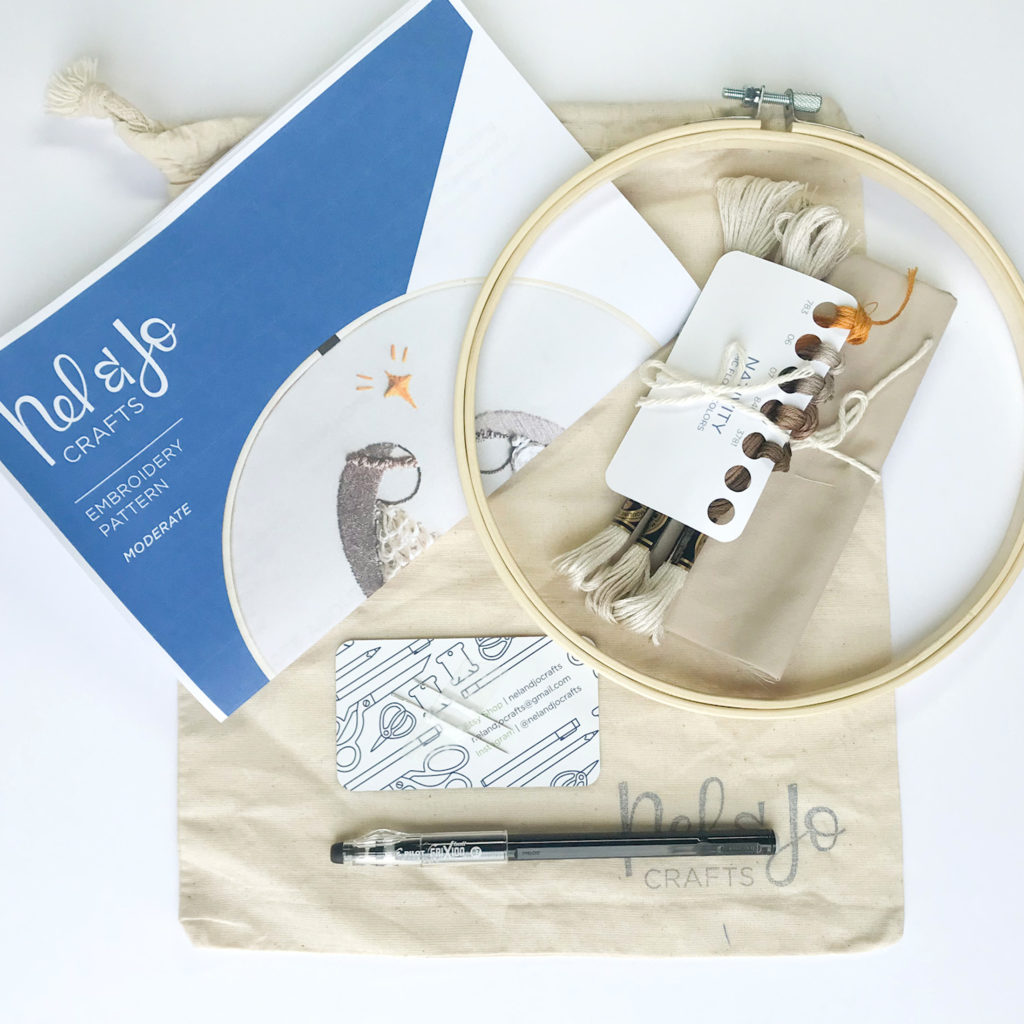
If you ordered a kit, all the embroidery supplies (except scissors) came with it. If you get the PDF pattern, the first page contains a supply list with specifics on floss numbers, and fabric. Also in the pattern, is a diagram of what stitch goes where and what color they are. There is a helpful hints section for anything special or tricky in the pattern. The last page of the pattern is the actual design for tracing.
Hooping fabric
The first step to tracing your fabric is actually to hoop your fabric. Having your fabric in the hoop will help the fabric hold still while you trace. It also keeps your newly traced pattern from getting warped before you begin stitching.
To hoop your fabric, first loosen your hoop screw and pull the inner and outer hoop apart. Next, place the inner hoop on a flat surface. Then, place your fabric over the inner hoop and center it.
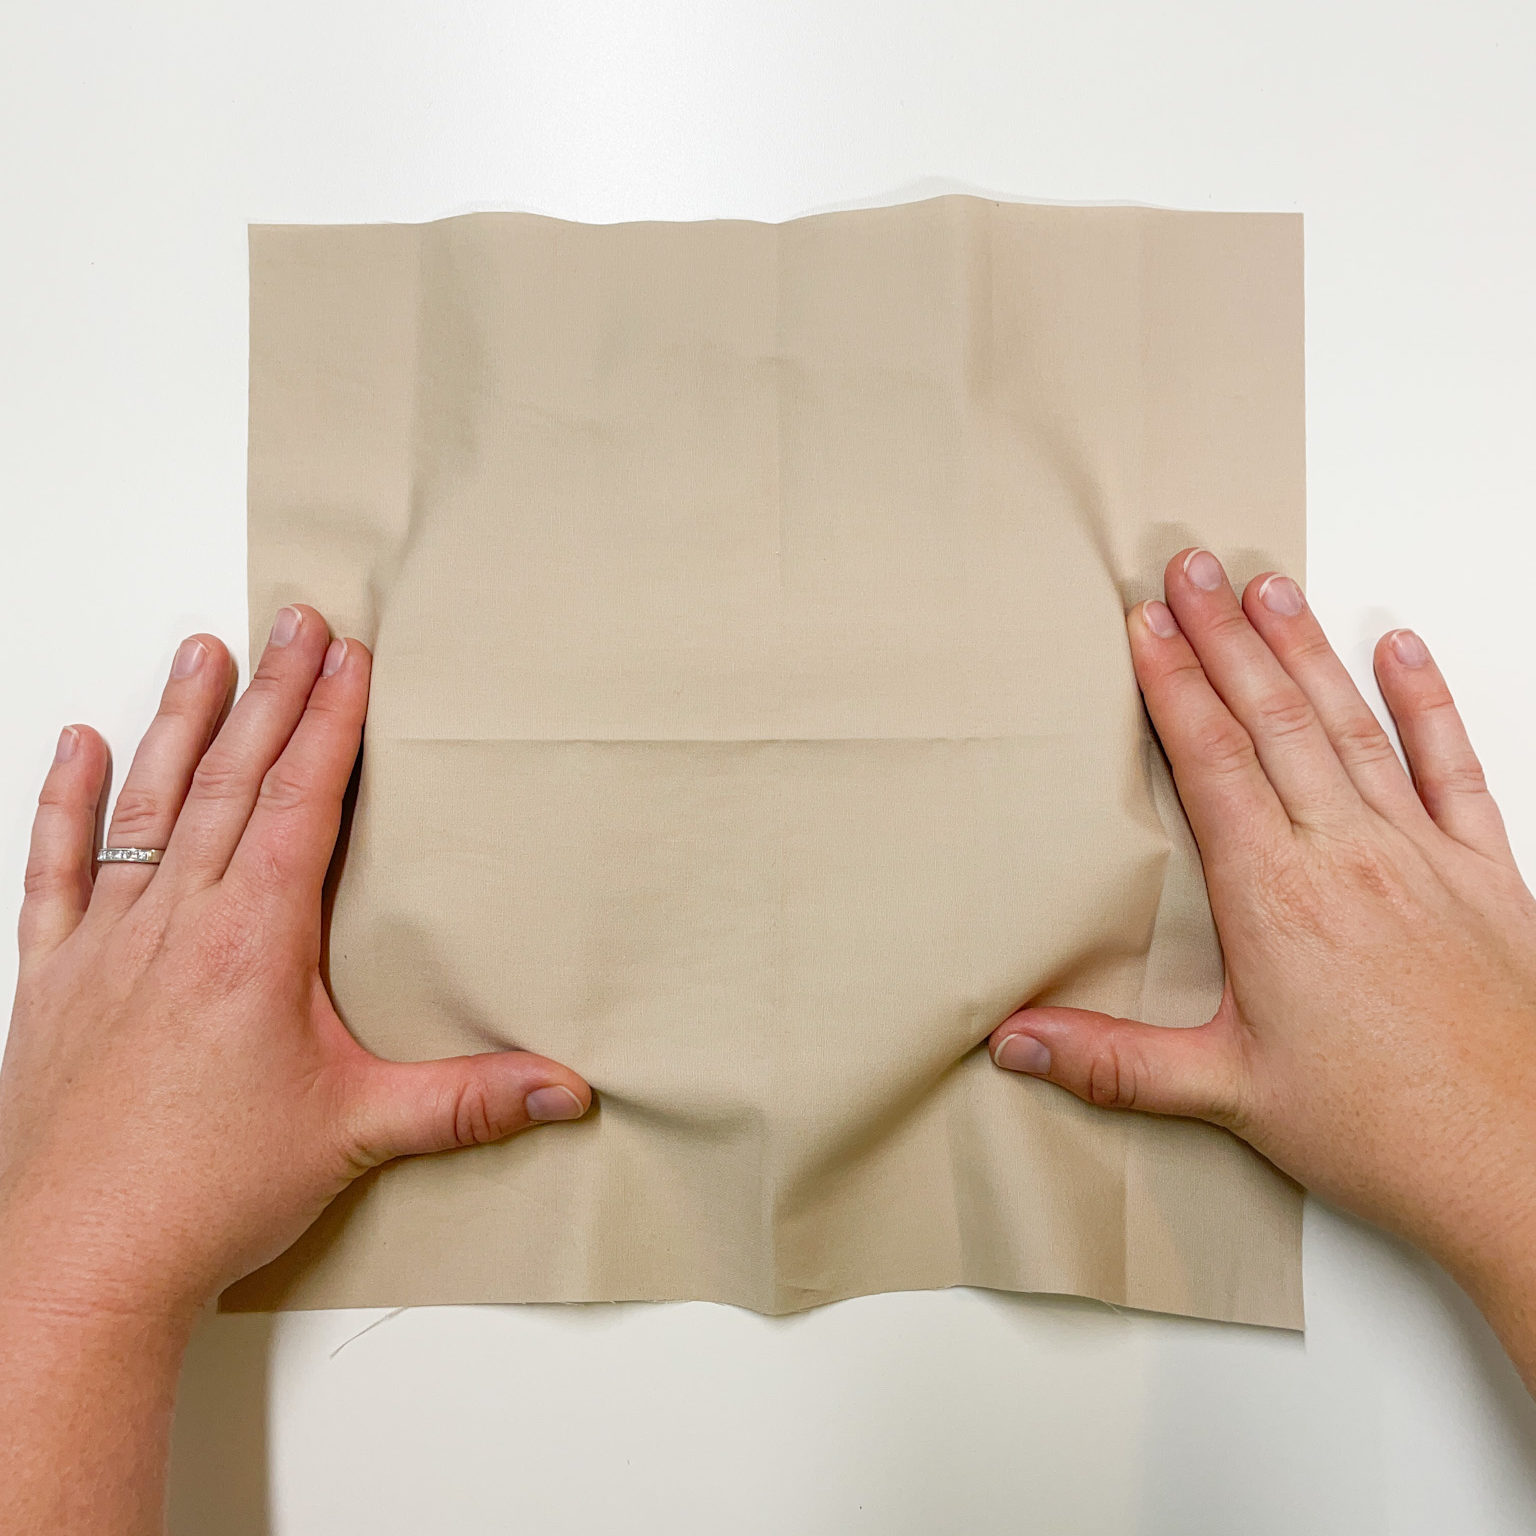
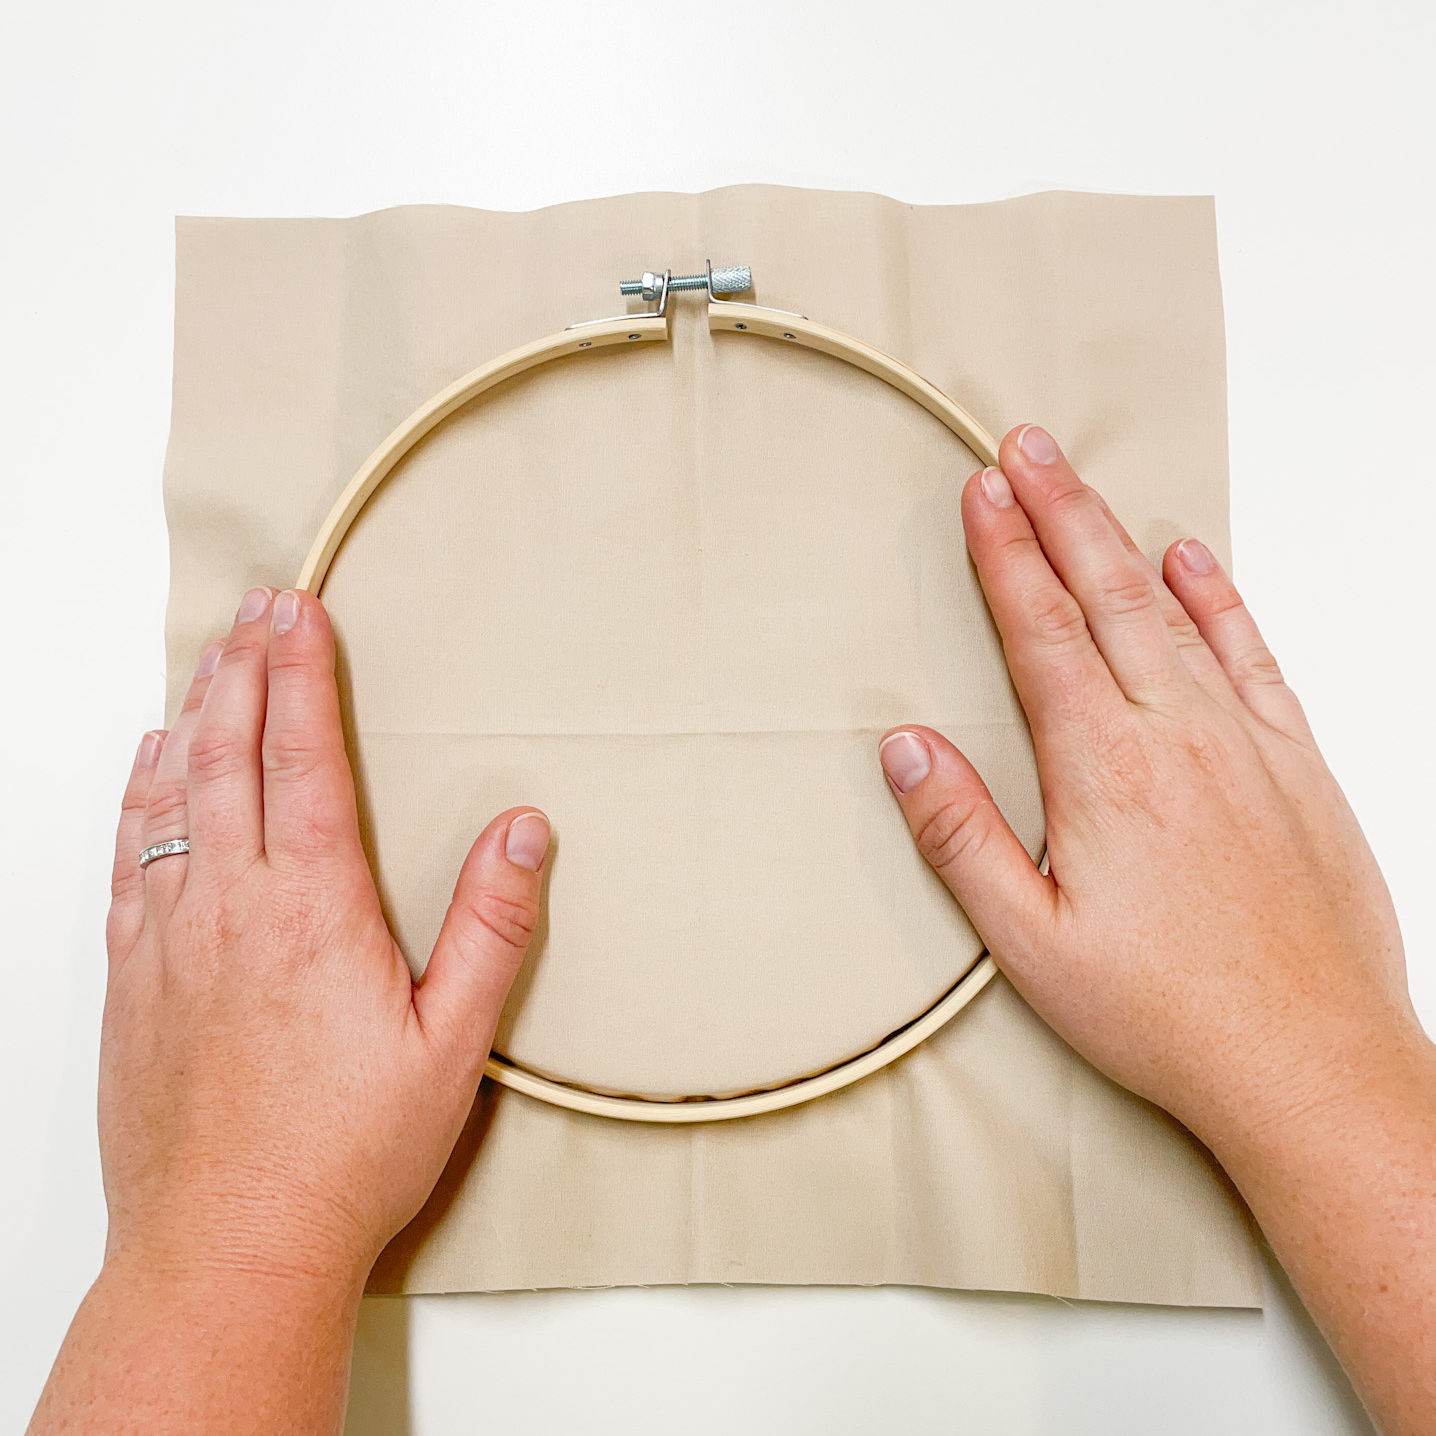
Next, place the outer hoop over the inner hoop, making a fabric sandwich. Now, push down on the outer hoop. It will go back around the inner hoop, sandwiching the fabric in between the two hoops.
Next, you need to tighten the fabric in your hoop. First, tighten the screw gate on your hoop. Then, while holding the hoop in one hand, use the other hand to pull the fabric down and away from the hoop.
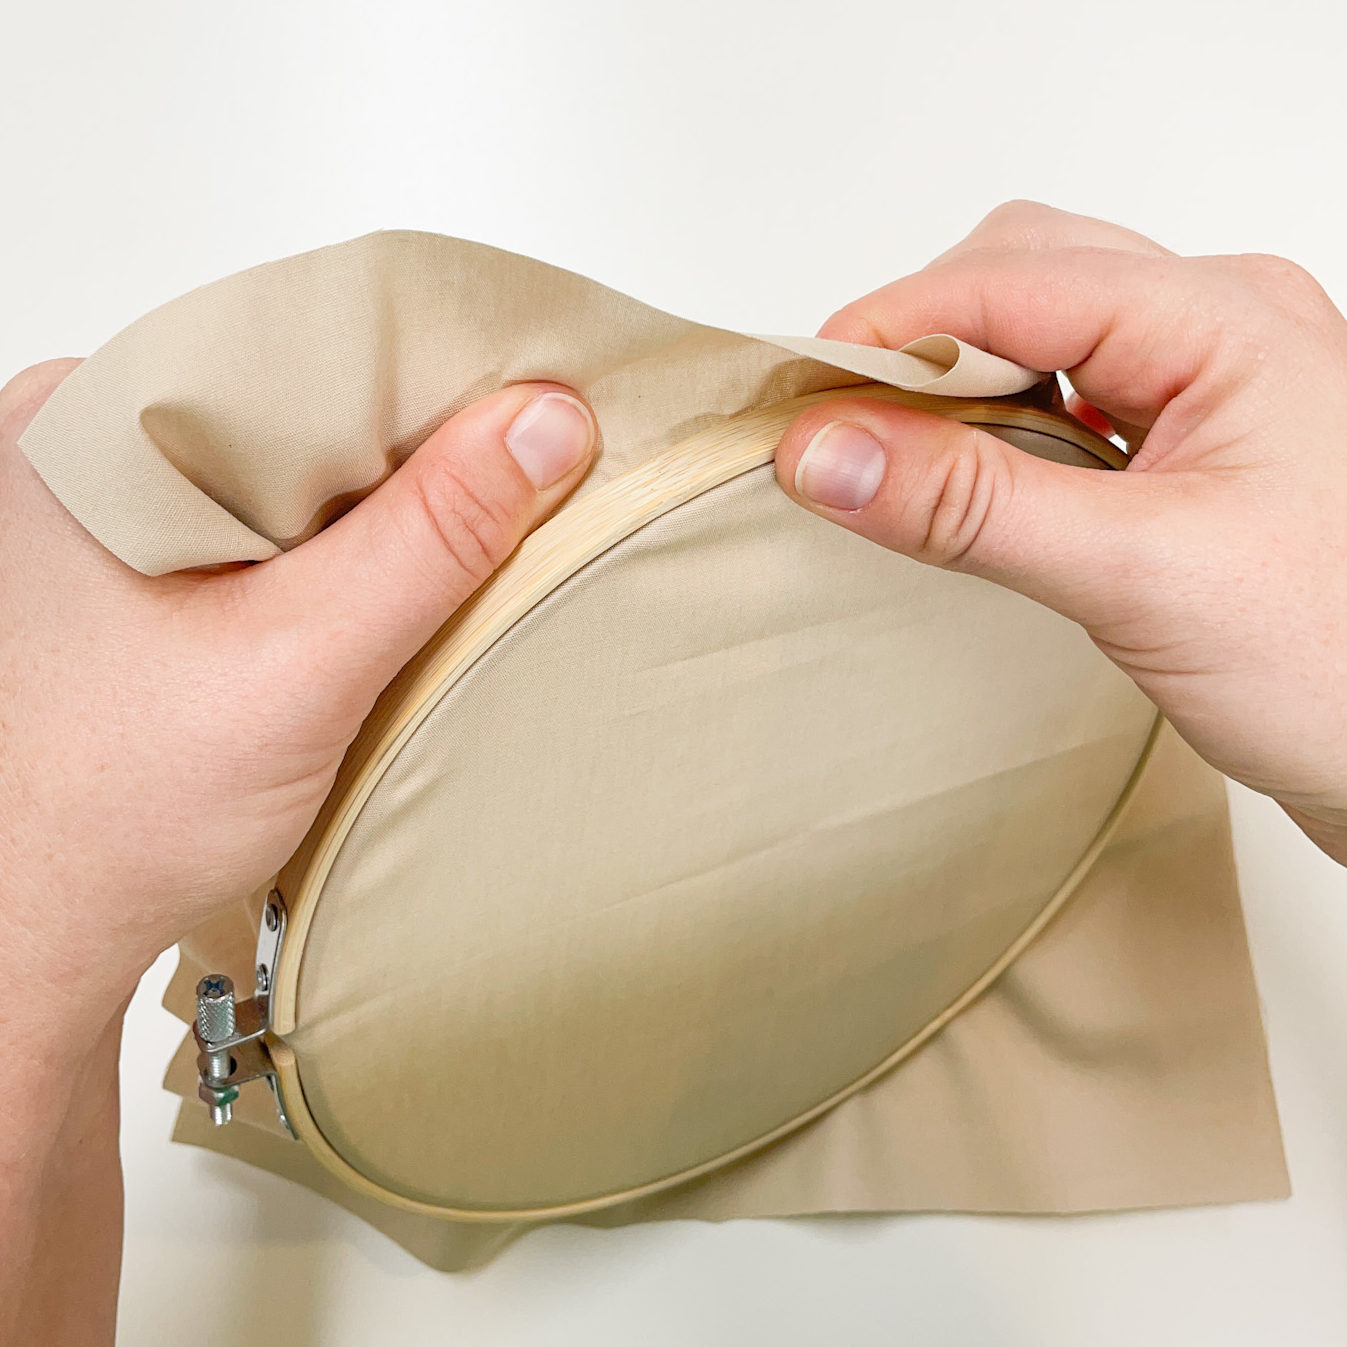
Do this all the way around the hoop. Be sure to push the inner and outer hoops back together if they begin to pull apart. Next, repeat the process. First, tighten the screw and then, pull the fabric tight. You are finished when you fabric has no wrinkles and makes a drum sound when you tap it.
Pattern tracing
You are now ready to trace your pattern. The best way to trace your pattern is from the back side of the hoop. This means that the fabric will lay right up against your light source and pattern. This makes tracing easier because you have a hard surface to write. It also makes the pattern much easier to see. You can use any bright surface to trace on. Some common options are a bright window, a tablet screen or even a glass front monitor. No need for fancy embroidery supplies and light tables. However, if you are ready to invest a little, this light table is inexpensive, low profile and easy to use.
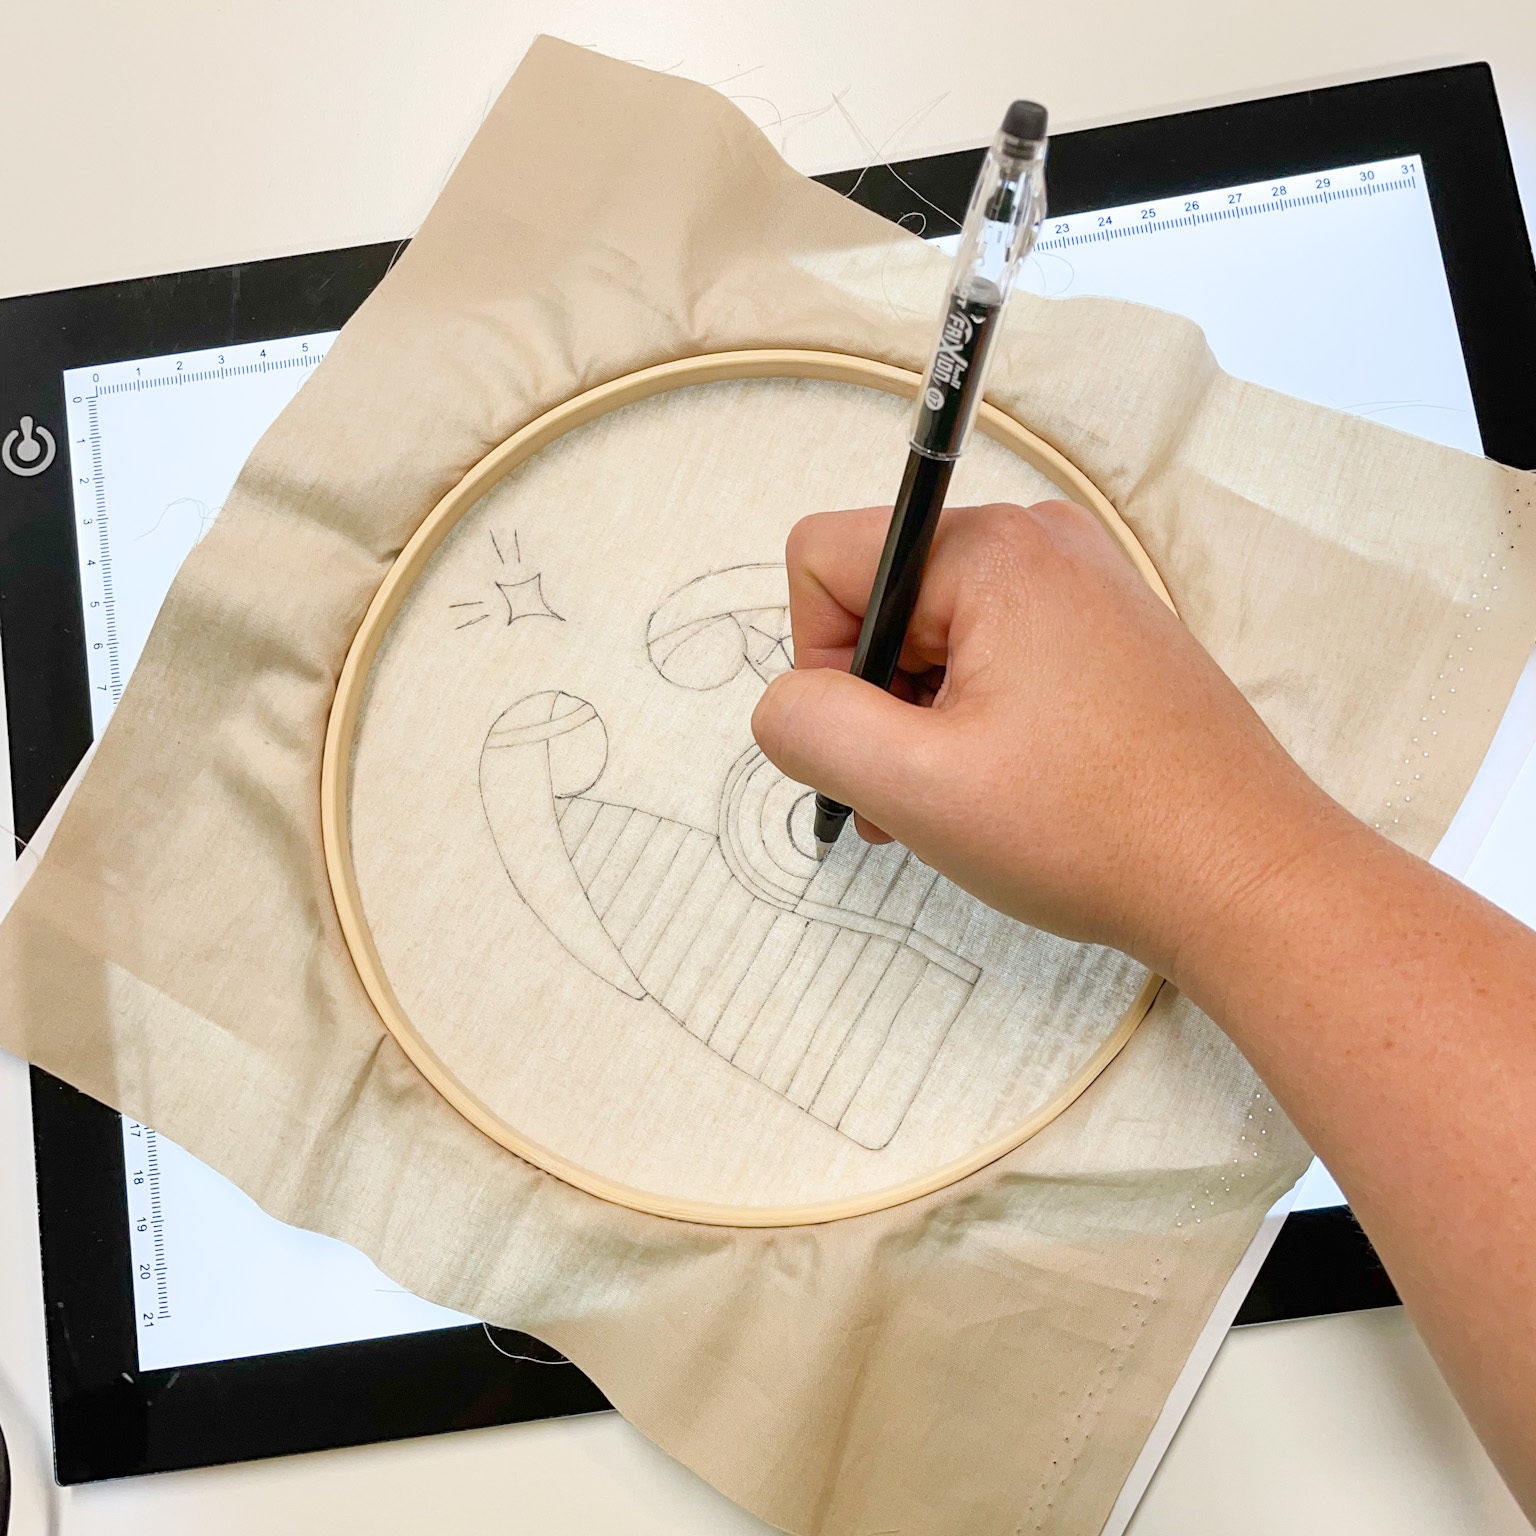
Remember to GO SLOWLY when you are tracing. It is not a race. Take you time getting a good transfer. It is incredibly helpful to rotate your hoop and pattern as your trace. Try to draw lines only in the most comfortable directions. For most of us that is drawing a line from top to bottom, and following curves in towards our body. If you feel yourself awkwardly reaching to draw a line, pause and adjust your hoop angle.
PRO TIP: The best embroidery supply for tracing is double stick tape. Use it to hold your pattern to your fabric. Then no matter how you move your hoop the pattern never gets out of alignment from what you have already traced. This is especially helpful when tracing on a window and you need to take an arm break.
Video for Day 1 Stitch Along
Note that if you view the video on youtube or on a mobile device the video will be larger and easier to see.
Questions?
I hope you enjoyed day 1 for the Nativity Stitch along! Tomorrow we start stitching the manger and working on our stain stitch. You can find day 2 here. (Find the full schedule here.) If you have any questions leave a comment and I’ll answer them ASAP.